Elden Ring: Shadow of the Erdtree has no scarcity of inauspicious bosses. Right here’s methods to beat each boss in Elden Ring.
Desk of Contents
How you can Beat Each Boss in Elden Ring: Shadow of the Erdtree: The Final Information
There are 4 foremost story bosses in Shadow of the Erdtree and fifteen elective ones. Right here, we’ll offer you an in-depth technique on methods to beat every of them, beginning with the principle story bosses. There can be very gentle spoilers forward.
How you can Beat Rellana, Twin Moon Knight in Elden Ring
Rellana could be extraordinarily powerful for gamers who aren’t aware of the parrying system in Elden Ring, however for many who are consultants with this mechanic, this ought to be a breeze. In case you efficiently parry Rellana a number of instances, she can be susceptible to a crucial strike, and given her sweeping combos, there are many alternatives to parry.
In case you’re a magic consumer, then this is usually a powerful battle as she has nice magic protection, and as such your assaults aren’t more likely to do a lot injury. On this scenario, we advise looking for out lightning spells as she is susceptible to lightning, and these could make the battle a lot simpler.
How you can Survive Rellana’s First Section
Most of Rellana’s section one package depends on sweeping strikes together with her swords. You’ll need to roll by these strikes and benefit from openings to do injury as soon as the mixture is full.
In case you’re at a distance, then Rellana can use Glintstone Arcs. These projectiles can simply be dodged by rolling, however remember, she usually sends a number of without delay, however can as an alternative shoot one marge projectile that does considerably extra injury.
How you can Survive Rellana’s Second Section
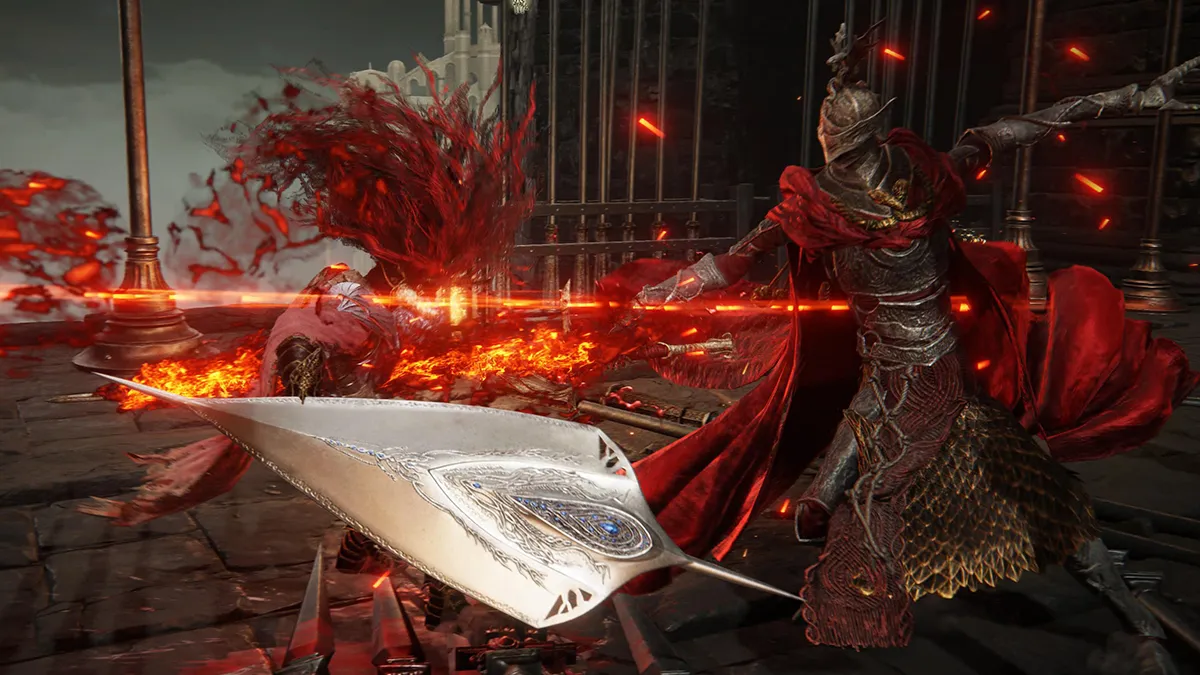
Throughout Section Two, Rellana will imbue her sword with fireplace and start utilizing a mixture of magic and fireplace assaults. She’ll additionally turn into far more aggressive, that means that even the combos you’re aware of can be more durable to keep away from.
Along with her fireplace magic, Rellana’s combos now embody spinning combos from shut vary. Once more, rolling by these is the optimum approach to keep away from them. Her Carian Greatsword transfer is a strong assault that begins with a 360 sweep round her place, adopted by a crashing strike to the bottom at your location. You may roll by the sweep and away from the ultimate strike to keep away from taking injury.
Rellana’s Twin Moon assault is her most harmful means and have to be prevented in any respect prices. It will see her levitate within the air, creating two moons that crash to the earth earlier than she does herself. It’s essential leap over these assaults as they make an influence with the bottom to keep away from them, and the additional away you’re from her, the higher so we advise operating proper as you see the assault be initiated.
Final Resort Suggestions for Beating Rellana
The Mimic Tear Spirit Ashes is a good way to beat this battle when you’re having hassle. This summoning means will aid you in fight not simply by dealing injury, but additionally by pulling agro so you may work by yourself assaults.
There are two NPC spirits available to summon outdoors of Rellana’s boss room, nevertheless, we might advise in opposition to summoning both. They’re each susceptible to Rellana’s assaults and gained’t survive lengthy in fight. Summoning additionally will increase Rellana’s well being so it’s merely not value it on this scenario.
In case you do must summon, think about summoning a web based participant, as they’ll probably be extra outfitted to beat Renalla than these NPCs are.
How To Beat Golden Hippopotamus in Elden Ring
Many of the assaults from the Golden Hippopotamus in Section 1 are close-range bashing-type strikes. These could be simply prevented by rolling by them and dealing injury as soon as the motion is over.
Like most FromSoftware creature bosses, getting behind the Golden Hippopotamus makes beating it a lot simpler. From behind, only some assaults can hit you and so they are typically simple to see coming. When the enemy repositions to get in entrance once more, roll by its assault and get behind as soon as extra. You may repeat this all the best way into section two.
Throughout Section 2, issues get a lot trickier. The Golden Hippopotamus will begin to emit golden spikes from its physique. These have two functions: they deal injury to something shut after they seem, however additionally they shoot out of the creature’s physique, flying on the participant. This ranged assault is simple to see coming and could be rolled to keep away from.
Except for the spikes, Section 2 of the Golden Hippopotamus battle is nearly similar to the primary and as such you should use the identical technique of getting behind the beast to deal injury and finally take it out.
In case you’d prefer to make issues simpler, you may all the time use Spirit Ashes to attract agro and assist out with repositioning and dealing injury to the boss. The only option is probably going going to be the Mimic Tear, as it can have the identical weapons and armor that you’re utilizing, which could be tailor-made to your model and construct up standing results in the course of the battle.
How you can Beat Messmer the Impaler in Elden Ring
Preventing Messmer in Elden Ring: Shadow of the Erdtree would require some preparation. Whereas you should use the old school technique of studying the battle to dodge each transfer and slowly put on down his well being, we’d counsel getting into the battle primed for victory.
Messmer is susceptible to magic assaults so utilizing sorceries will mean you can break his stance and deal crucial blows a lot simpler. I prefer to play melee builds, so utilizing Ashes of Struggle labored completely for me. One of the best one I discovered was Glintblade Phalanx, however any magic assault goes to be useful so go along with what you’ve received.
Most of Messmer’s injury comes from fireplace assaults so it’s preferable to decide on armor that has good resistance to fireplace. How heavy this armor is will rely in your construct, however medium is perfect to make sure you nonetheless have the power to roll out of Messmer’s assaults.
How you can Survive Messmer’s Section One
Throughout section one, Messmer has a handful of assaults. He’ll often open by launching himself into the air and charging a ball of fireplace earlier than crashing to the bottom at your location. This may be simply prevented by rolling by the second he’s about to make an influence however remember to roll away from his location a second time as he’ll detonate his flame shortly after he lands.
Messmer can generally raise his hand within the air and create a ball of fireplace. If this ball of fireplace floats off by itself be able to roll, as will probably be shortly firing in your course. However, if Messmer begins to run in the direction of you with the fireball in his hand, you need to dash away from him or get able to time a roll simply as he goes to seize you. This seize transfer is an immediate kill even with fairly a little bit of well being so you need to keep away from it in any respect prices.
Outdoors of those skills, Messmer’s section one package is usually easy. You’ll need to roll by his swiping combos, and to the aspect of his spear jabs. If he crashes to the bottom on the finish of a mixture, you have to be ready to roll away as the bottom could be detonated after influence.
Use the openings after his combos to cost in and deal injury or activate your magic from a distance.
How you can Survive Messmer’s Section Two
When you attain section two, the Messmer battle will get somewhat simpler. Opening this section can be his large snake smash. This transfer is nearly the identical as his preliminary opening assault, however due to the enormous snake it’s simpler to time. Roll away from his influence, after which once more earlier than it detonates. There’s a small window after this to deal injury so be ready to hurry in and land a number of blows.
From right here Messmer has a number of new assaults which embody a darkish pool that may be created on the bottom. This offers large injury so that you escape the zone earlier than it’s detonated. He may use large snakes to strike you from a distance or turn into one himself to sprint in and shortly shut the gap dealing large injury. All of those snake assaults could be timed and rolled by.
Outdoors of those new strikes, the package stays principally the identical so you may persist with the identical technique as section one and simply declare your Embers of Messmer.
Final Resorts for Beating Messmer
In case you’re actually caught in opposition to Messmer then you may all the time use the assistance of the Mimic Tear ashes. This spirit is ideal to take agro from Messmer permitting you to make use of magical assaults from a distance. Not like NPC summons, Mimic Tear gained’t buff Messmer’s well being so that you’ll have the ability to take him out on the identical tempo as you’ll with out the ashes.
After all, there may be all the time the choice to summon different gamers however simply be warned. Preventing Messmer with extra well being could be extra hassle than it’s value, so we’d counsel sticking to Mimic Tear when you can.
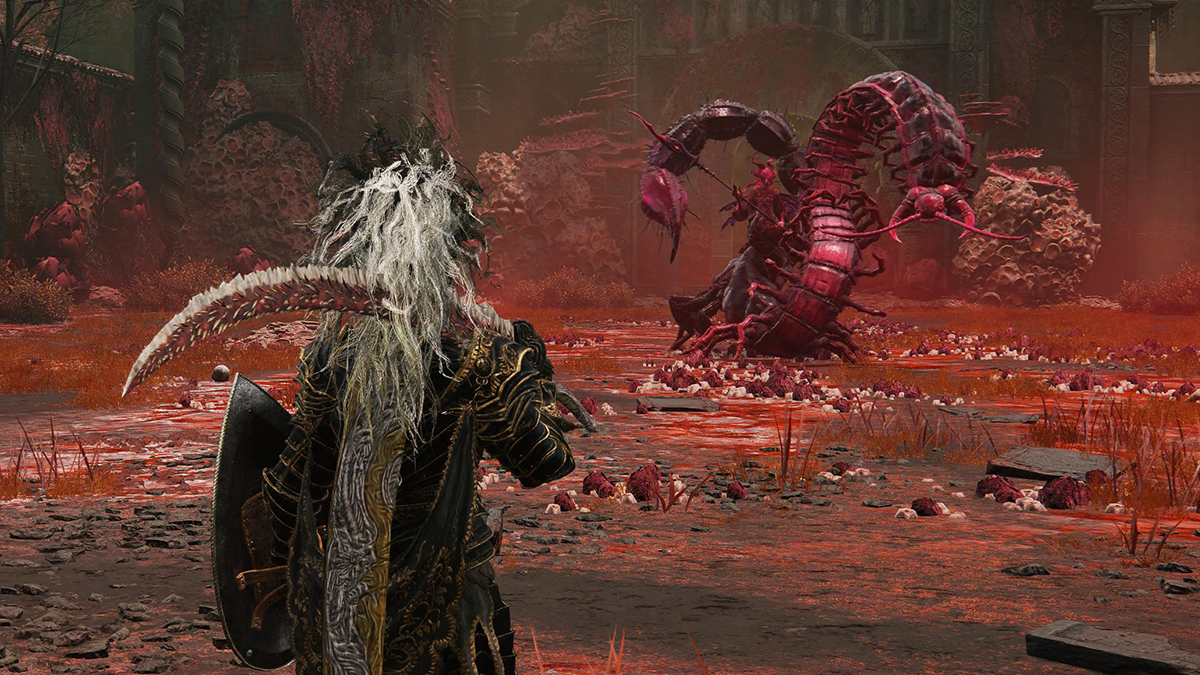
How you can Beat Romina in Elden Ring
The very first thing to contemplate when difficult Romina is what armor you’ll use. Very like Melinia, Romina makes use of Rot as her offense so that you’ll need to take armor with excessive immunity to counter it.
How you can Survive Romnia’s Section One
For the battle itself, Section 1 is difficult however easy. You’re going to take care of long-swiping combos. These can both be two or three lengthy, nevertheless, you may roll into them to keep away from taking injury. Generally she will be able to finish a mixture with a rolling assault which may also be prevented, so simply watch out when you see her begin to spin.
From a distance, she is going to try and strike you together with her scorpion tales, however you may keep away from these by closing the hole and rolling as they’re about to make an influence. You’re higher off staying near the boss if potential as her close-range strikes in Section 1 are simple to keep away from and it leaves a gap so that you can deal injury.
How you can Survive Romnia’s Section Two
In Section 2 the entire identical strikes nonetheless apply, however she begins to make use of one final transfer. This new means will create a whirlwind of butterflies round her that may be deadly when you’re shut. Run away from her once you see this means begin however watch out as the entire enviornment will now have butterflies floating round. It’s essential discover a spot with no butterflies to keep away from taking injury or use your protect to minimize the blow.
From right here it’s again to fundamentals, merely observe the guidelines from Section 1 and use them to keep away from taking any injury whereas getting in photographs of your personal. Finally, you’ll beat this boss and get entry to the following space.
Final Resorts for Beating Romnia
In case you’re actually struggling you should use Spirit Ashes to assist out within the battle, and as typical, the most effective of those is the Mimic Tear. This clone may also help you deal injury, but additionally tank injury for you and supply alternatives to get behind and safely assault.
You should utilize summons to herald one other participant to assist, however we might counsel making an attempt Mimic Tear first because it doesn’t improve the boss’s well being in the identical approach {that a} participant or NPC summon would.
Romnia marks the final of the principle story bosses, and rewards you with the Remembrance of the Saint of the Bud. Now, let’s sort out the elective bosses.
How you can Beat Furnace Golems in Elden Ring
Beating the Furnace Golem in Elden Ring: Shadow of the Erdtree would possibly look daunting however that is no Tree Sentinel. Actually, you may defeat this monstrosity from the primary second you step foot into the Shadow Realm.
First, there’s one extremely simple approach to kill Furnace Golems. And that’s by chucking a Hefty Furnace Pot into its basket. Doing this may deal large injury to it. However Hefty Furnace Pots could be laborious to come back by, so right here’s the usual technique.
The Furnace Golem has weak spots on its face plate and a big opening on its again. Nonetheless, you are able to do some injury to its legs which can finally trigger the monster to fall over permitting you entry to the susceptible locations.
Experience Torrent into battle avoiding any of the molten rocks being flung in your course as you place your self behind the monster at its legs. If you are on this place there’s solely a small quantity of strikes it can use.
The primary comes as you see one leg raised within the air. Get able to double leap over the flames because the foot is about to hit the bottom. Utilizing Torrent to remain airborne whereas the flames torch the bottom means you’ll take no injury. Equally, if the Furnace Golem jumps within the air with each toes it can unleash a extra highly effective model of this transfer, however it may be prevented the identical approach.
In case you stay behind the Furnace Golem, the one different strikes it can use are an try at swiping you with its arms, which doesn’t attain behind him, so it may be simply prevented when you assault the legs, and a smaller stomping assault that solely impacts the world in entrance of that particular foot.
When you’ve carried out sufficient injury to the legs and the Furnace Golem falls to the bottom, merely dismount Torrent and head to the face plate on its physique to deal a crucial strike. From right here, return to the preliminary technique and very quickly you’ll have conquered this problem and earned your rewards.
Killing the Furnace Golem will trigger it to drop Crystal Tears and a Furnace Visage.
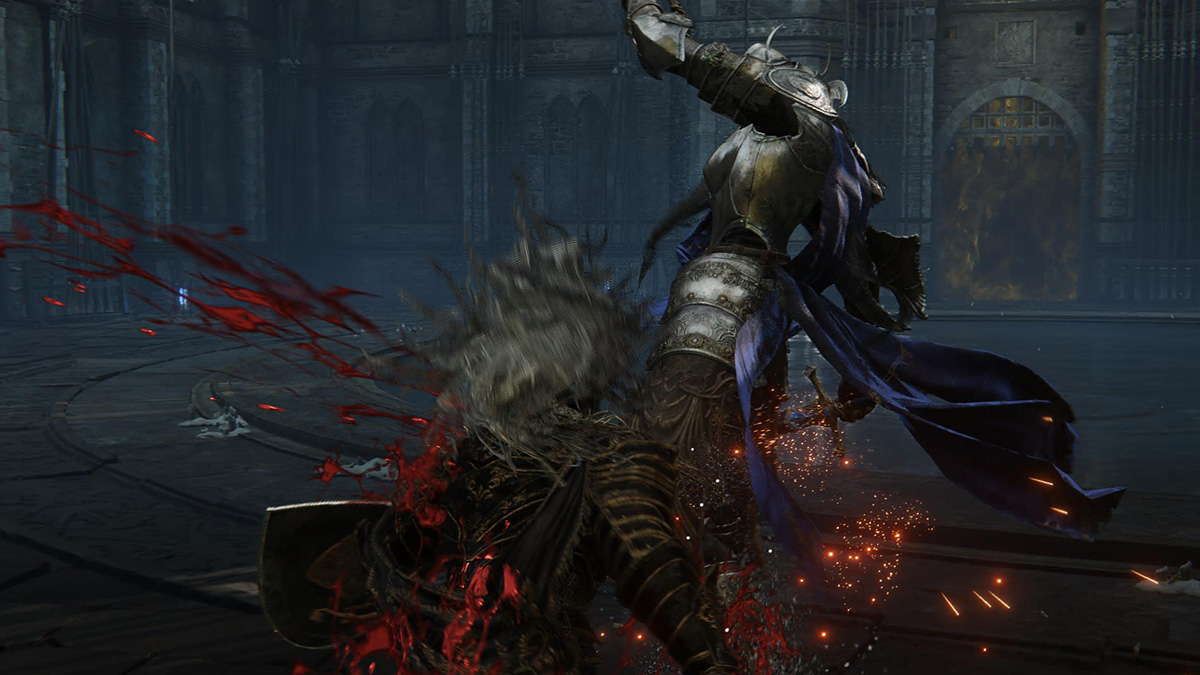
How you can Beat Blackgoal Knight in Elden Ring
The important thing to beating the Blackgaol Knight is speeding when he hundreds the crossbow and countering after each two assaults. If you enter the mausoleum to begin the battle, the knight will sometimes begin loading up the crossbow from throughout the room. He makes use of commonplace bolts first after which explosives after a second reload. Ensure to only dash to the appropriate in a half circle after which assault after he runs out of bolts the primary time.
After you interact in melee vary, the Blackgaol Knight does a number of completely different combos. Most of them encompass two huge swings that may simply catch you when you spam the again dodge. But when you recognize when to create area, it may be a large benefit. It may well trigger the knight to return to the crossbow, which is a simple window to wreck.
The deadliest assault is a charged swing that seems to have holy injury connected. After slamming his sword, the assault unleashes the power, and he’ll observe up with a touch. House gained’t aid you a lot on this case so you have to put together for evasion or else he can simply two-shot kill you. Simply dodge and wait for one more opening.
Tips about How you can Beat the Blackgaol Knight in Elden Ring
- Rush to the aspect when he hundreds the crossbow.
- Don’t spam backward dodges or you’re going to get caught.
- Make the most of weapon grease with Holy injury.
- Look ahead to the second rush assault after his Holy transfer.
You gained’t have the ability to use Spirit Ashes on this battle so it makes the battle even more durable. The Blackgaol Knight additionally likes to abuse poise on his energy assaults so don’t spam your personal melee assaults. Look forward to openings and finally, you’ll have a pleasant new solitude armor set.
How To Beat Scadutree Avatar in Elden Ring
The best approach to beat the Scadutree Avatar is to make use of a ranged construct that can mean you can solid magic or projectiles on the creature’s head. This susceptible spot does a considerable quantity of additional injury in comparison with the physique, so any time you may prioritize the top, that ought to be your purpose.
In complete, you will want to kill the Scadutree Avatar 3 times on this battle. Every time it can present a possibility to deal a crucial strike to the top beginning the following section with 25 % much less well being.
Throughout all three phases, the moveset stays nearly the identical. In Section 1 you may simply keep away from ranged assaults such because the vines or magic arrows just by rolling to the aspect. In shut you’ve simply received to be careful for the top slam and the AOE thorns that may usually be activated on the base.
In Section 2 there’s a new means the place the creature will put its arms into the bottom raise its physique after which fling itself immediately at you for large injury. This will simply be rolled by so to keep protected and we advise utilizing these reset alternatives to get shut or deal ranged injury. Be very cautious throughout this section because the creature can be at its most aggressive.
Section 3 is perhaps the final, but it surely additionally occurs to be probably the most simple of the phases. On this stage, the Scadutree Avatar can be labored in its actions and when you’re cautious you may merely sit close by and roll by its assaults. After most assaults, it can drop its head to the bottom permitting even melee builds to get shut and deal large injury.
In case you aren’t capable of attain the top then there’s no hurt in attacking the physique, the truth is, this may be a good way to get the creature to assault you with its head in flip permitting you to get near the crucial goal.
Final Resort Suggestions for Beating the Scadutree
Those that are actually caught can use the Mimic Tear spirit ashes to assist out on this battle. It will present you an ally to deal additional injury or just take agro from the creature when you get in place and safely make progress at chipping away its well being.
As typical, you can too name on the assistance of one other on-line participant, however we’d warning in opposition to this as it can improve the well being of the Scadutree Avatar.
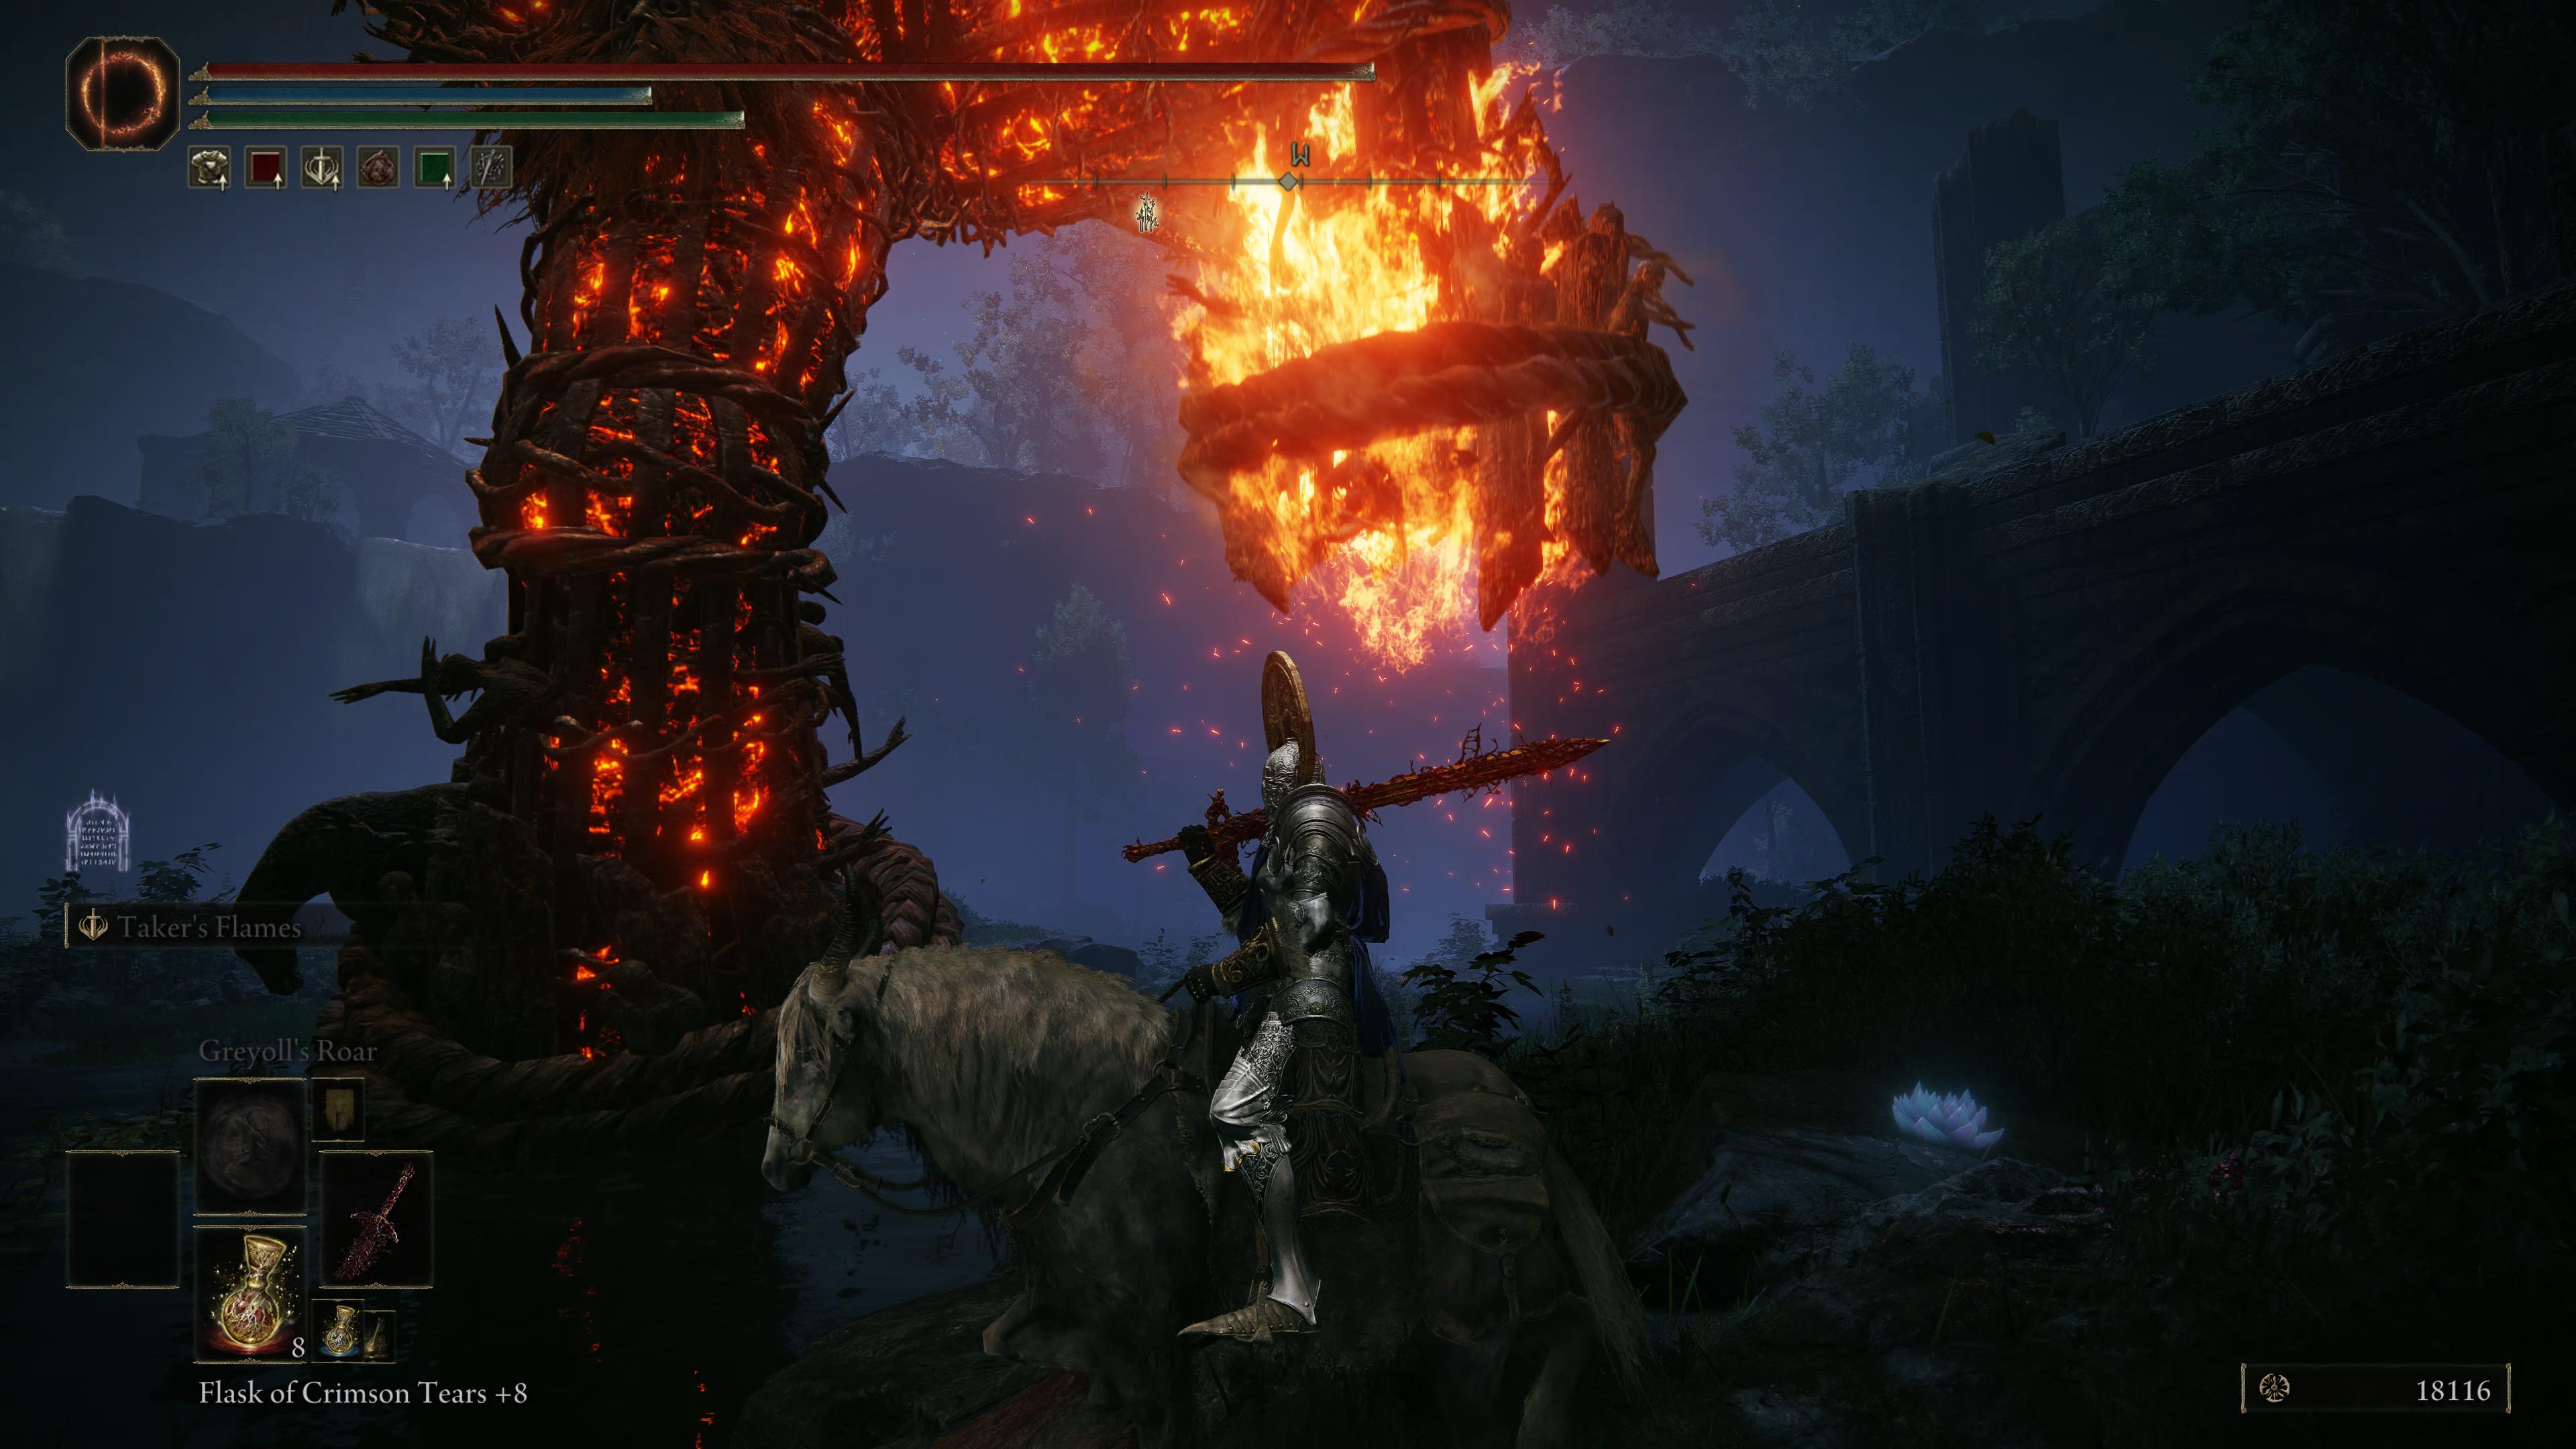
How you can Beat the Ghostflame Dragons in Elden Ring
As you attain the Cerulean Coast on the best way to the Southern Shore map fragment, you’ll be ambushed by a large undead dragon. This dragon, aptly named the Ghostflame Dragon, hits like an absolute truck. And when you’re scuffling with placing it again in its grave, you’re not alone. Fortuitously, there are a number of methods to dealing with it. And when you simply need to cheese it, skip to the tip.
First, Torrent is integral to this battle. The Ghostflame Dragon is exceptionally cell and can create large distance between you and it when you attempt to abuse its underbelly.
Second, it’s all the time finest to intention for its head. Hitting two to a few bodily photographs on its head will trigger it to break down ahead, revealing a shiny orange crit spot on the appropriate aspect of its head. Be sure you’re not locked into any a part of it, then use a heavy assault to begin the crucial animation. It will do round 4,000 injury or extra, relying in your weapon and construct.
Third, play cautiously. The Ghostflame Dragon has a number of assaults that can one shot you when you don’t have sufficient vitality. If it begins spewing flames, attempt to dodge by it, in the direction of its physique, or use Torrent to shortly skirt away going left or proper. Getting in the wrong way of the flames will nearly all the time result in demise. When the dragon throws its head up and its abdomen begins to glow white, don’t method it. That is an area-of-effect assault that can summon the undead. Kill the undead as shortly as potential, as they’re robust sufficient to take you out when you’re spending an excessive amount of time specializing in the dragon. Lastly, the simplest time to truly land a number of consecutive hits is when the dragon dives you. In case you efficiently dodge this assault, it can keep locked on the bottom for a number of seconds, supplying you with the chance to completely wail on it. elden Once more, all the time intention for the top, as there’s an opportunity will probably be sufficient to open its crit level.
Now, right here’s the true cheese. In case you’re bored with enjoying it truthful, there’s a sorcery that completely devastates the poor Ghostflame Dragon. And that’s Loretta’s Mastery and Loretta’s Greatbow. These long-range sorceries can hit from a large distance and hunt down what you’re locked on, so that you don’t even need to be going through the dragon to hit it. You may safely spam these assaults whereas far sufficient away to keep away from the demise flames the Ghostdragon spews out. And positively far sufficient away to see when the dragon’s pulling again for a cost and dive.
Loretta’s Greatbow is a pale shadow in comparison with Loretta’s Mastery, however it may be obtained earlier in the principle sport. Head to Caria Manor, simply north of Liurnia of the Lakes. Loretta is an elective boss, however she’s considerably weaker than the Ghostflame Dragon. In order for you Loretta’s Mastery, you’ll must go all the best way to Miquella’s Haligtree, the place you may battle her within the courtyard.
Each expertise take a large chunk of FP, however with this sorcery you gained’t take any injury, so be happy to spam these mana pots.
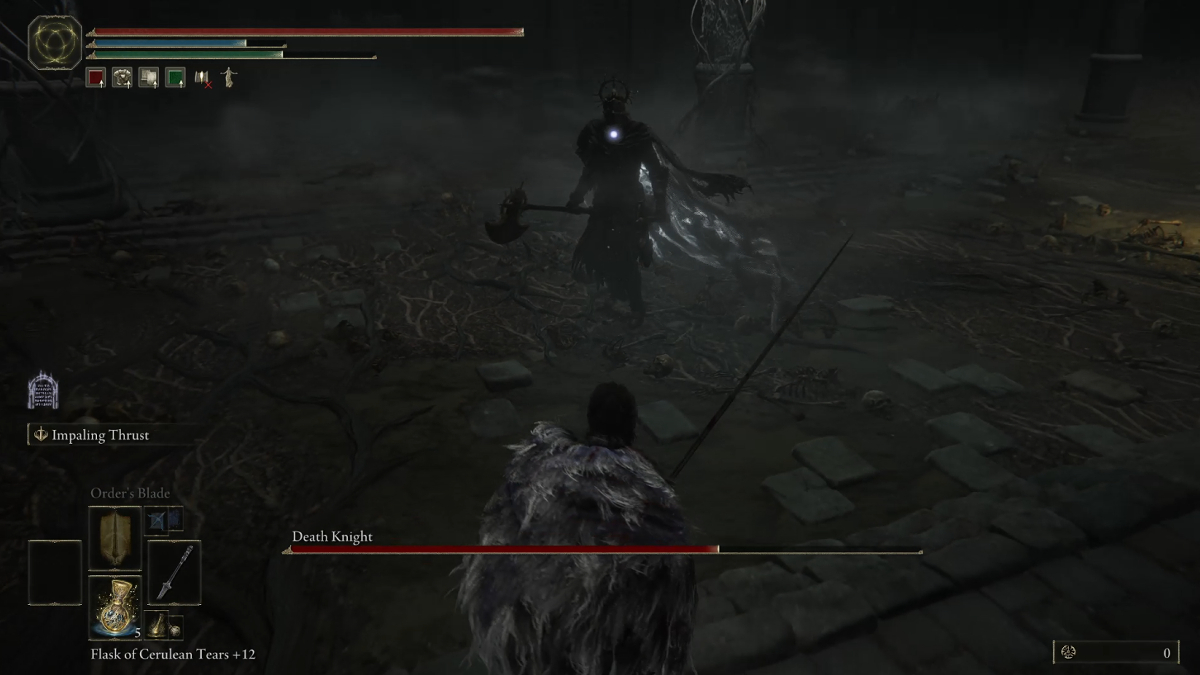
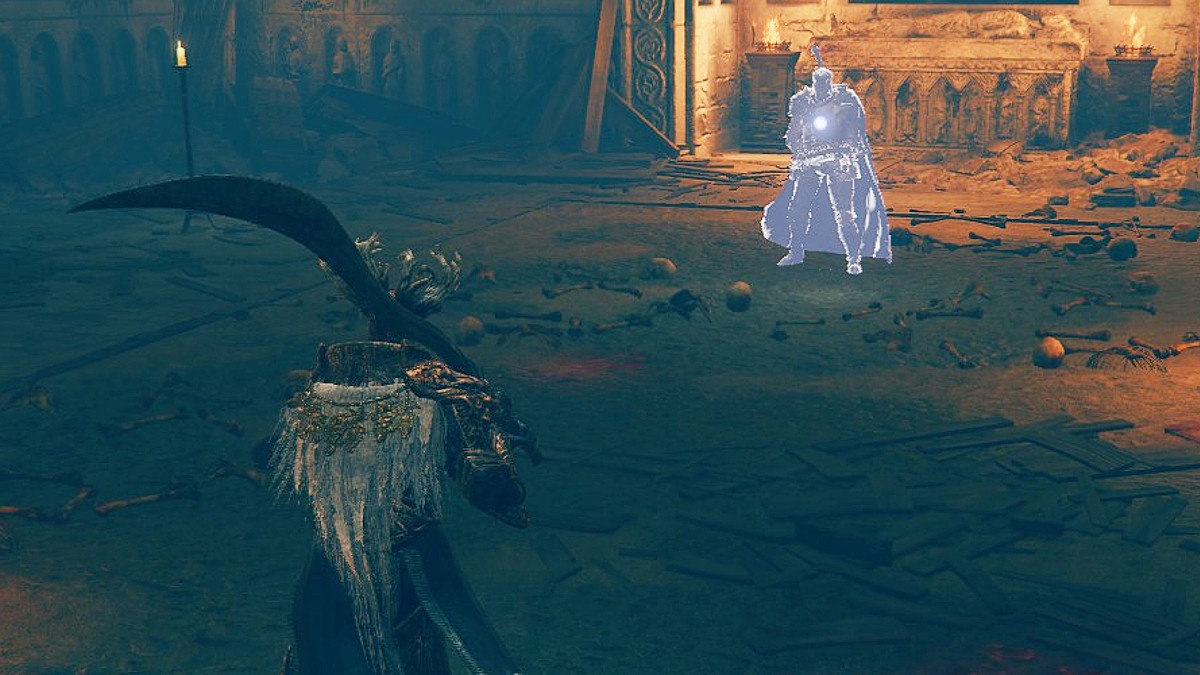
How you can Beat the Demise Knight in Elden Ring
In case you’re struggling to beat the Demise Knight boss in Shadow of the Erdtree you’re not alone. The Demise Knight wields twin axes and may use lightning magic. In addition to throwing lightning bolts, the boss may channel energy into his physique and sprint towards you.
The Demise Knight’s most harmful transfer is when he sprouts a pair of ghostly wings. In case you’re too shut, you might get knocked again by the wind, and within the worst-case situation, he’ll seize you. The Demise Knight will then raise you into the air and sap your HP to revive his personal well being.
Earlier than getting into this boss battle, you need to equip the Boltdrake Talisman to scale back your injury from lightning. One of the best technique to defeat the Demise Knight is to make the most of heavy assaults, which might stun-lock the boss. You might also think about using Bleed weapons since he’s weak in opposition to this standing impact.
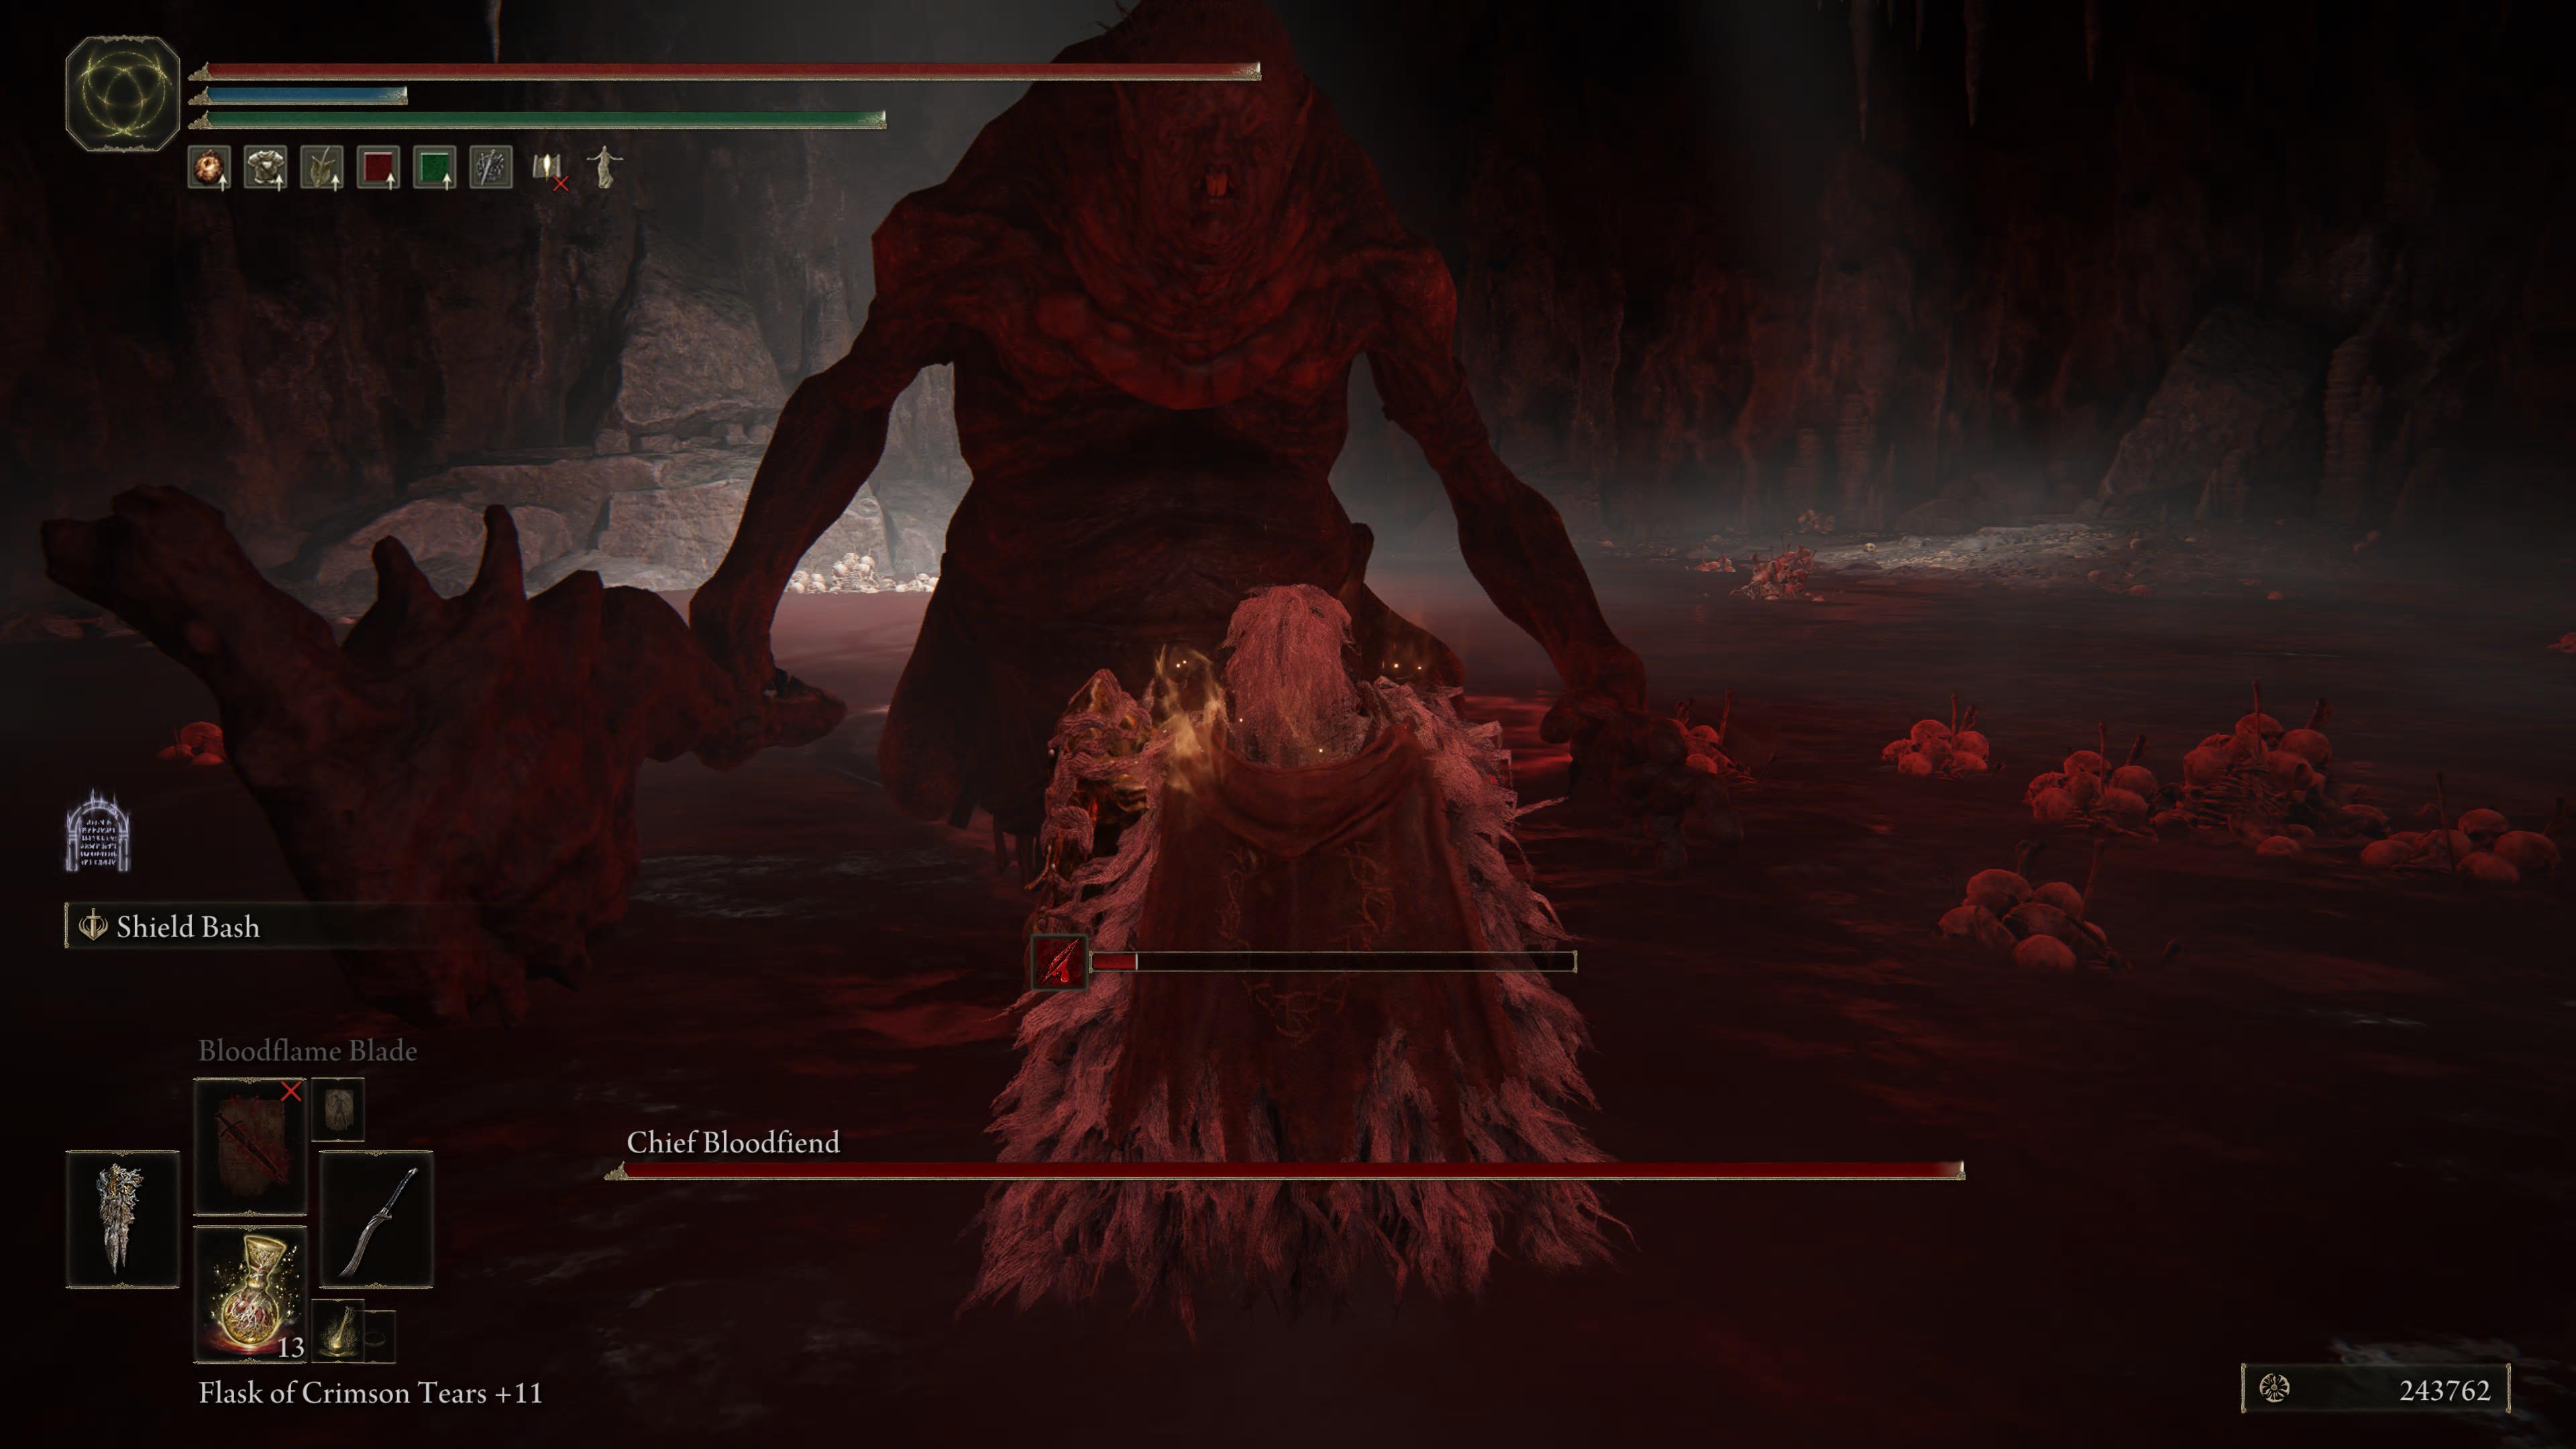
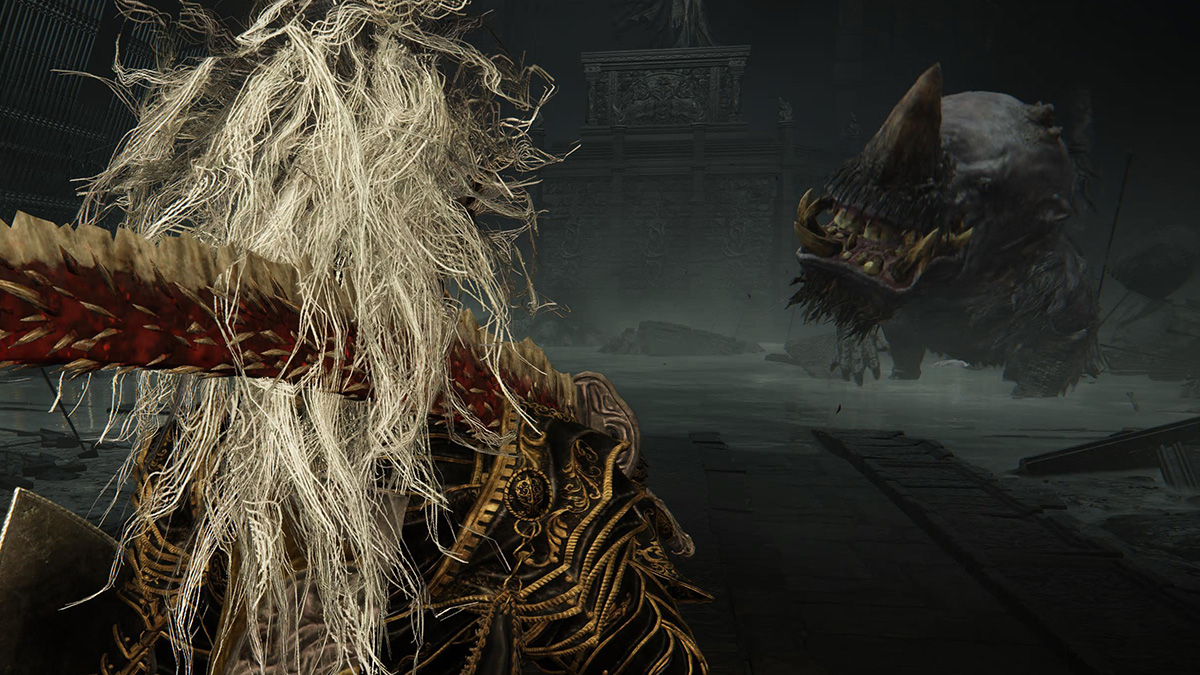
How you can Beat Chief Bloodfiend in Elden Ring
Upon getting into his enviornment, the Chief Bloodfiend will nearly actually rush to assault you. The world is pretty giant and the Chief is surprisingly quick, so making an attempt to take care of a distance between you and him can be key to victory. Generally the Chief Bloodfiend will leap at you too to shut the gap, so once you see him hop into the air put together to roll into the course he jumped from. If he jumps whereas standing in place, then meaning he’s going to make use of a large AOE assault upon touchdown, so staying far-off from him and poking him once you get the possibility is the most effective tactic.
Many of the Chief Bloodfiend’s assaults are vicious close-range combos the place he’ll wail on you together with his membership. In case you’re too shut, dodging out of his wild swings can be laborious, and you’ll simply be killed when you get hit by a number of of them. He’ll incessantly alternate between membership smashes and pounding the bottom together with his fist and he’ll often string a number of hits collectively. It’s uncommon for certainly one of his assaults to be single-hit, so when you battle with a whole lot of close-range assaults, be aware of this.
One thing else to watch out of is he can emit a crimson mist that can trigger a bleed build-up. He’ll do that for a few seconds so it’s finest to dodge roll again as shortly as potential so that you don’t get hit with bleed. In case you’re far-off nevertheless, then that is the right alternative to heal up and use no matter gadgets you have to. Funnily sufficient, the Chief Bloodfiend is susceptible to bleed injury, so when you use weapons like the new Beast Claw, you possibly can probably make the battle a lot faster by afflicting him with bleed.
Most certainly, this can be an aggressive battle, however the Chief Bloodfiend ought to go down with out an excessive amount of problem, netting you the Bloodfiend Hexer’s Ashes.
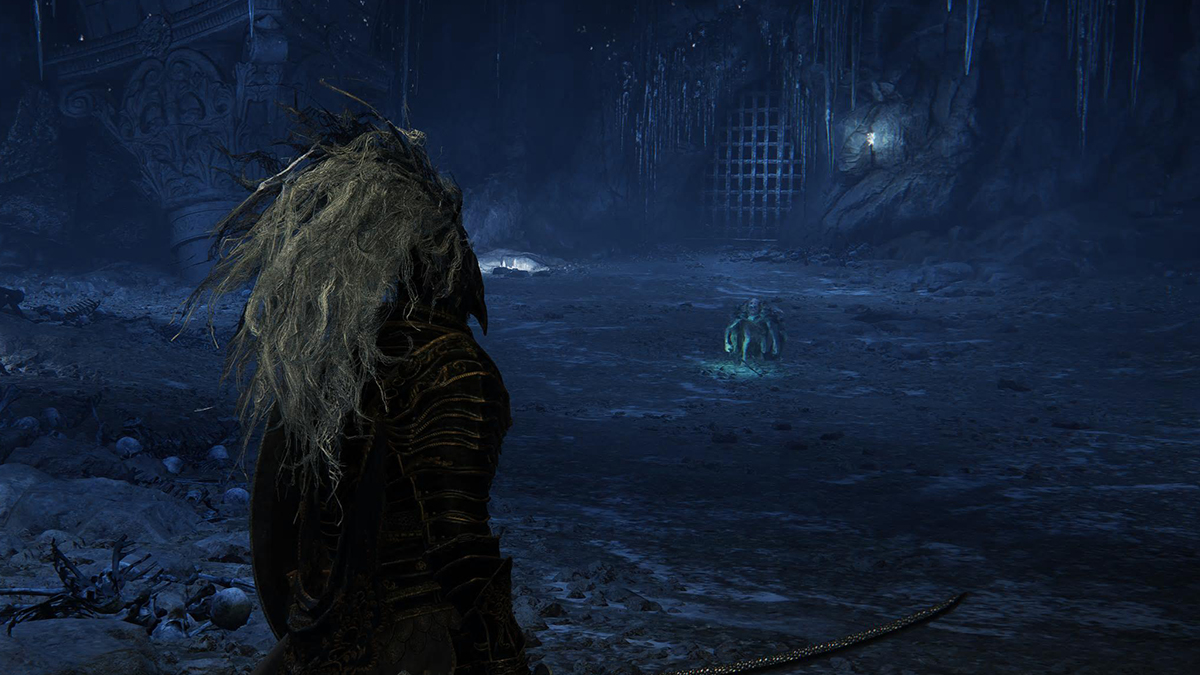
How you can Beat Demi-Human Swordmaster Onze in Elden Ring
You could find Demi-Human Swordmaster Onze on the very backside of the Belurat Gaol, a dungeon positioned alongside the east border wall of Belurat Tower Settlement. And when you’ll primarily encounter pots and the monstrosities inside on the best way to him, Onze is the true terror of the dungeon.
In case you’re scuffling with this battle, heavy assaults that may break poise and consumables that improve your resistance to frost and magic are a superb shout. Spellproof Dried Liver and Thawfrost Boluses are good gadgets so as to add to your hotbar for this battle.
Onze may be very small, as he’s a demi-human. However don’t let his stature idiot you. He’s exceptionally quick and makes use of speedy combos. He may teleport within the air, blinking to your location. In case you’re struggling to hit him, wait till he does a seize or slam from mid-air, then dodge by it. As soon as he does this transfer, he’ll be open to assaults.
And whereas he’s fairly quick, his well being pool isn’t large. Dodge or commerce blows with him, ideally breaking his poise with heavy assaults, till he goes down.
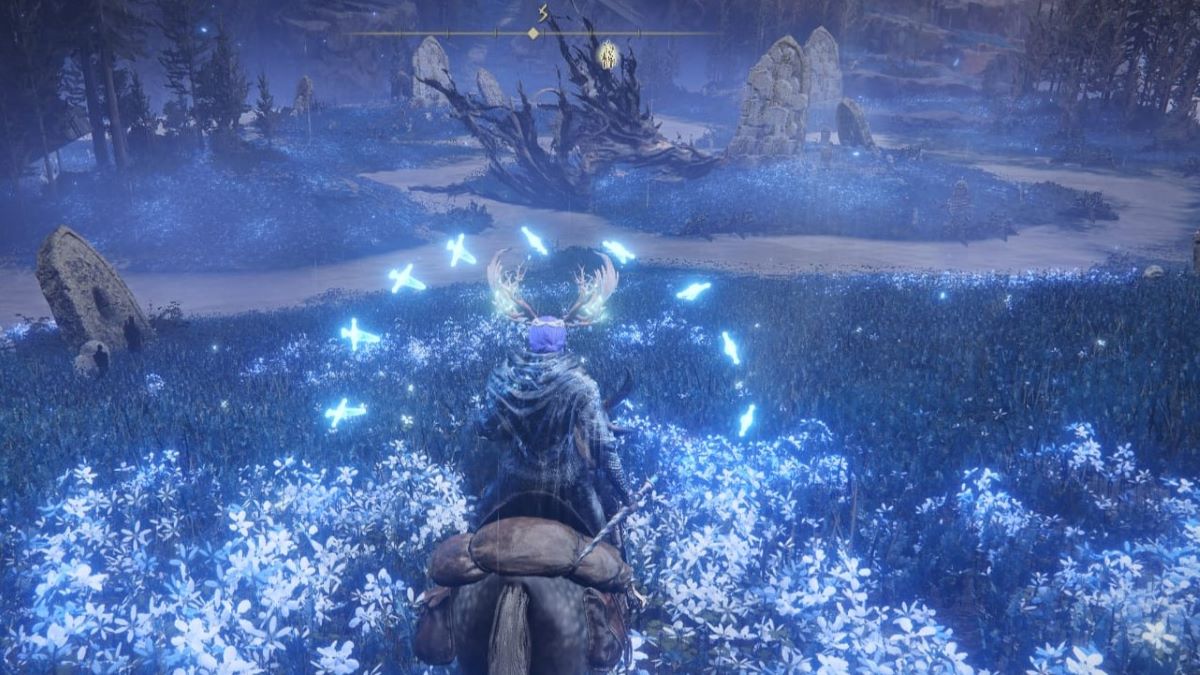
How To Beat Demi-Human Queen Marigga in Elden Ring
Upon arrival on the inlet in Elden Ring: Shadow of the Erdtree‘s Cerulean Coast the place Demi-Human Queen Marigga makes her dwelling, you need to have the ability to see her within the distance, towering over the opposite Demi-People she retains for firm. Whereas it will be tempting to only run as much as her and start the battle, that is really the worst factor you possibly can do as she is going to instantly name the Demi-People to sic upon you. Whereas I didn’t get an actual rely of them, there have been actually round a dozen, and they’ll simply overwhelm and kill you.
So earlier than you even take into consideration attacking Demi-Human Queen Marigga, make it some extent to sneak round and kill as many Demi-People as potential. You may both use throwables to lure them out or you may sneak up on them, however the secret’s to remove them earlier than Marigga sees you. I used to be personally capable of kill about six earlier than she noticed me from a distance, however that was sufficient to make sure victory.
Like different Demi-People, Marigga is a little bit of a glass cannon. However whereas her well being is pretty low, she makes up for it with fast assaults that may depart you hurting when you’re not ready. In case you battle her from a distance, she’ll use Glintstone Magic to launch homing assaults at you, whereas up-close battles will see her use her workers to attempt to smash you. She additionally has a scream assault that may stagger you, and she or he might finally toss her workers in favor of aggressively slamming her physique in opposition to you.
Your normal technique to defeat Demi-human Queen Marigga ought to be to finish this battle as shortly as potential earlier than the remaining Demi-People swarm you. As a result of this battle takes place outdoors, use Torrent to attempt to kill the remaining Demi-People (I used to be capable of kill most of them in 1-2 hits), then deal with Marigga. As a result of her strikes are extensively telegraphed as a consequence of her measurement, you need to have the ability to sprint out of the best way with Torrent earlier than she completes her assault, permitting you to circle again and injury her somewhat bit. In case you’re selecting to battle her with out Torrent, rolling into her can have you dodge most of her assaults, however watch out of her scream as it could stagger you.
Final Resort Suggestions for Beating Demi-Human Queen Marigga
In case you’re having hassle killing Queen Marigga due to the Demi-People, you may summon your Mimic Tear to assist. In all probability, the Mimic Tear will draw aggro from the Demi-People and depart you loads of time to deal with Marigga. With a robust sufficient construct, she ought to go down in lower than a minute, offered you don’t get swarmed by her.

How you can Beat Commander Gaius in Elden Ring
Commander Gaius could be fought on foot or with Torrent, which makes him distinctive in comparison with the opposite main bosses within the DLC. Using Torrent may give you much more area on the battlefield, however you’re additionally vulnerable to getting surprised over and over. For that motive, I don’t advocate really utilizing your mount. Get within the Commander’s face and begin monitoring the assault patterns he has. For the primary a part of the battle. he depends on combos from his spear once you get shut together with assaults from his mount.
When Commander Gaius isn’t utilizing the spear to poke injury, he’ll use the boar to cost at you. After every cost, he has the potential to swing once more and maintain shifting. In some instances, he may even have his mount kick you as you attempt to assault from behind. The purpose is to attend for a gap on this battle and get protected injury quite than making an attempt aggressive combos. Energy builds are going to really feel the most effective right here.
Tricks to Beat Commander Gaius:
- Combat the boss on foot as an alternative of with Torrent.
- Look ahead to tusk expenses.
- Look forward to the spear combos to finish to deal injury.
- In section 2, watch for the delay on the gravity slam.
- Put together for projectile assaults and proceed evading gravity assaults.
In section 2, Gaius begins utilizing gravity magic. He floats into the air and slams again down, inflicting thorns to erupt. Don’t dodge the slam straight away as a result of there’s a slight delay. However when you evade the appropriate approach, then you may keep away from the thorns. The boss will proceed to make use of projectiles and gravity magic assaults on his spear mixed with assaults from the earlier section. Identical to earlier than, you need large injury in small home windows to proceed defending. Earlier than you recognize it, he battle is over and you’ll declare your Scadutree Fragments up forward.
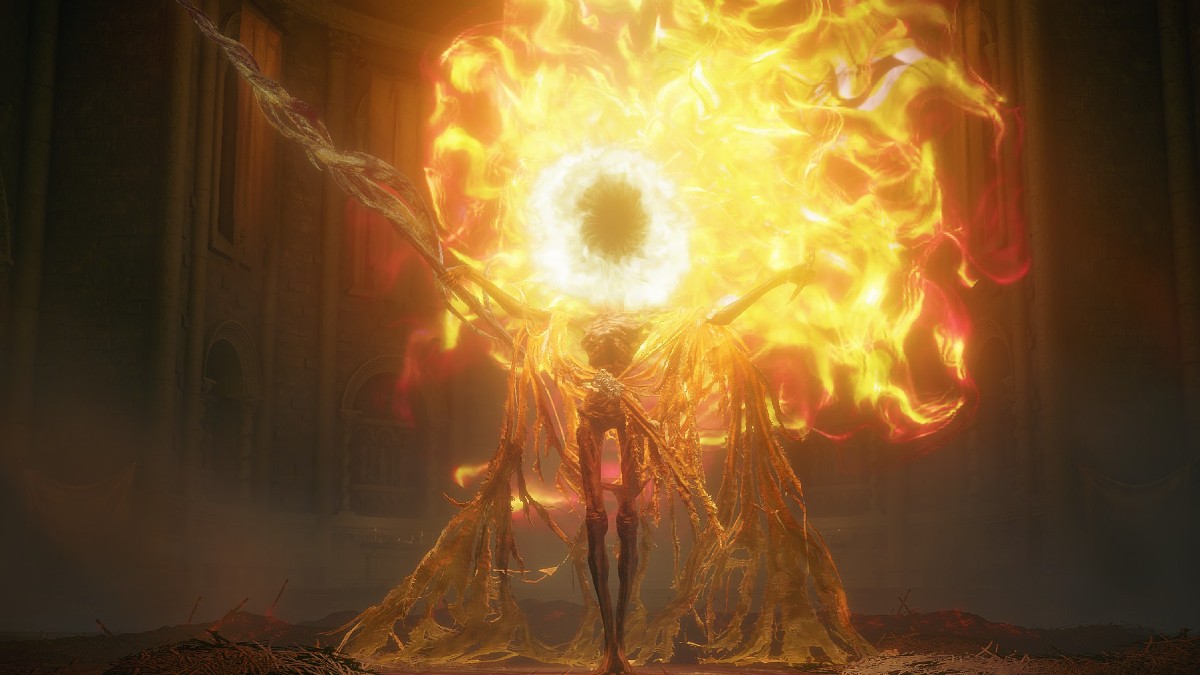
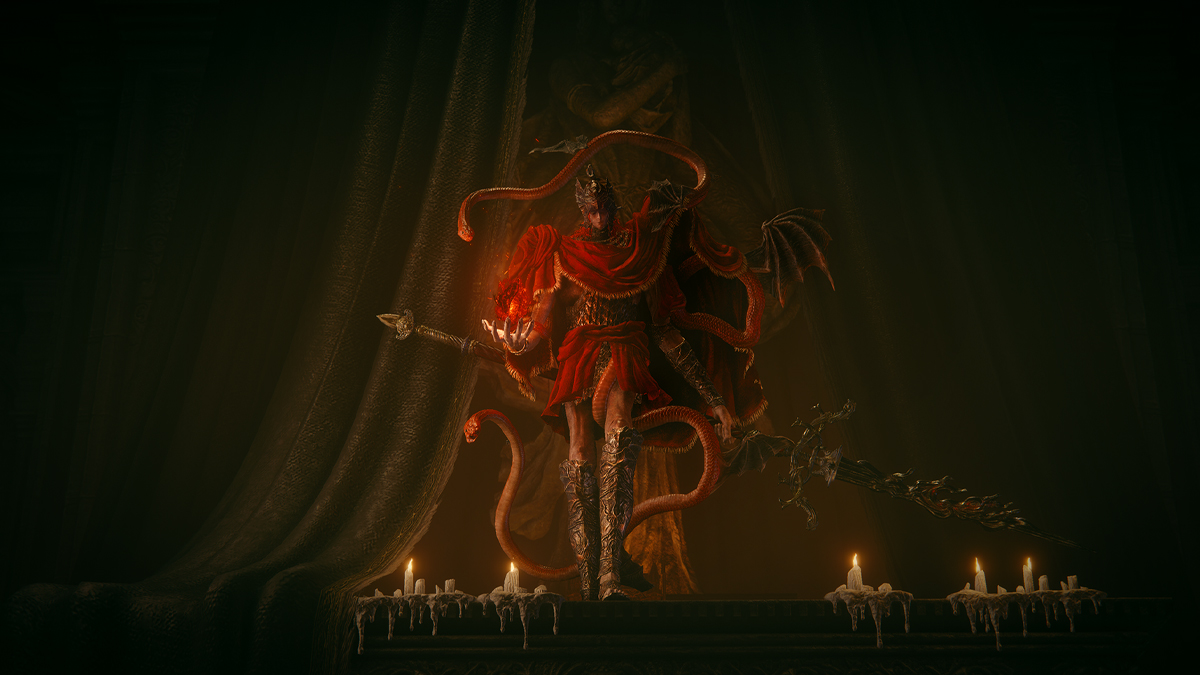
How you can Beat Midra, Lord of the Frenzied Flame in Elden Ring
The battle in opposition to Midra, Lord of Frenzied Flame is a tough boss to beat in Shadow of the Erdtree. This battle is all about dodging the insanity flames and managing your insanity meter. This boss is aggressive in each melee assaults and the spells used at vary. It’s going to use the spear to shut the hole, and when you run away, there’s a mixture of Frenzied Flame bursts that deal a ton of harm. I like to recommend having the talisman for focus outfitted and a few boluses if you wish to keep away from your insanity meter build up from the flames as nicely.
Two of the deadliest flame assaults that Midra makes use of are variations of the Frenzied Flame burst. The primary model is completed in two separate photographs. Every one seems like a ton of tentacles that may simply catch you as you try and dodge. Ensure to maneuver sideways as quick as potential to keep away from the tendrils. As for the opposite Frenzied Flame assault, it shoots out like a a lot quicker singular beam. This may be dodged in any course, however you have to be prepared.
Tricks to Beat Midras, Lord of Frenzied Flame:
- Equip a Focus Talisman.
- When Midra expenses up, transfer sideways to dodge tendrils of flame.
- The bolt of Frenzied Flame shoots a lot quicker however is just in a single course.
- Melee could be aggressive but it surely has simpler animations to trace.
- Make the most of Spirit Ashes for extra alternatives to assault.
You may all the time use Spirit Ashes for this battle as nicely and that can take a ton of the aggro. Melee assaults from Midra aren’t practically as dangerous as different bosses and you’ll simply dodge them in a sample. So long as you may handle the Frenzied Flame spell assaults, you may simply pummel Midra whereas their gaze is on the ashes.
Elden Ring: Shadow of the Erdtree is on the market now.


