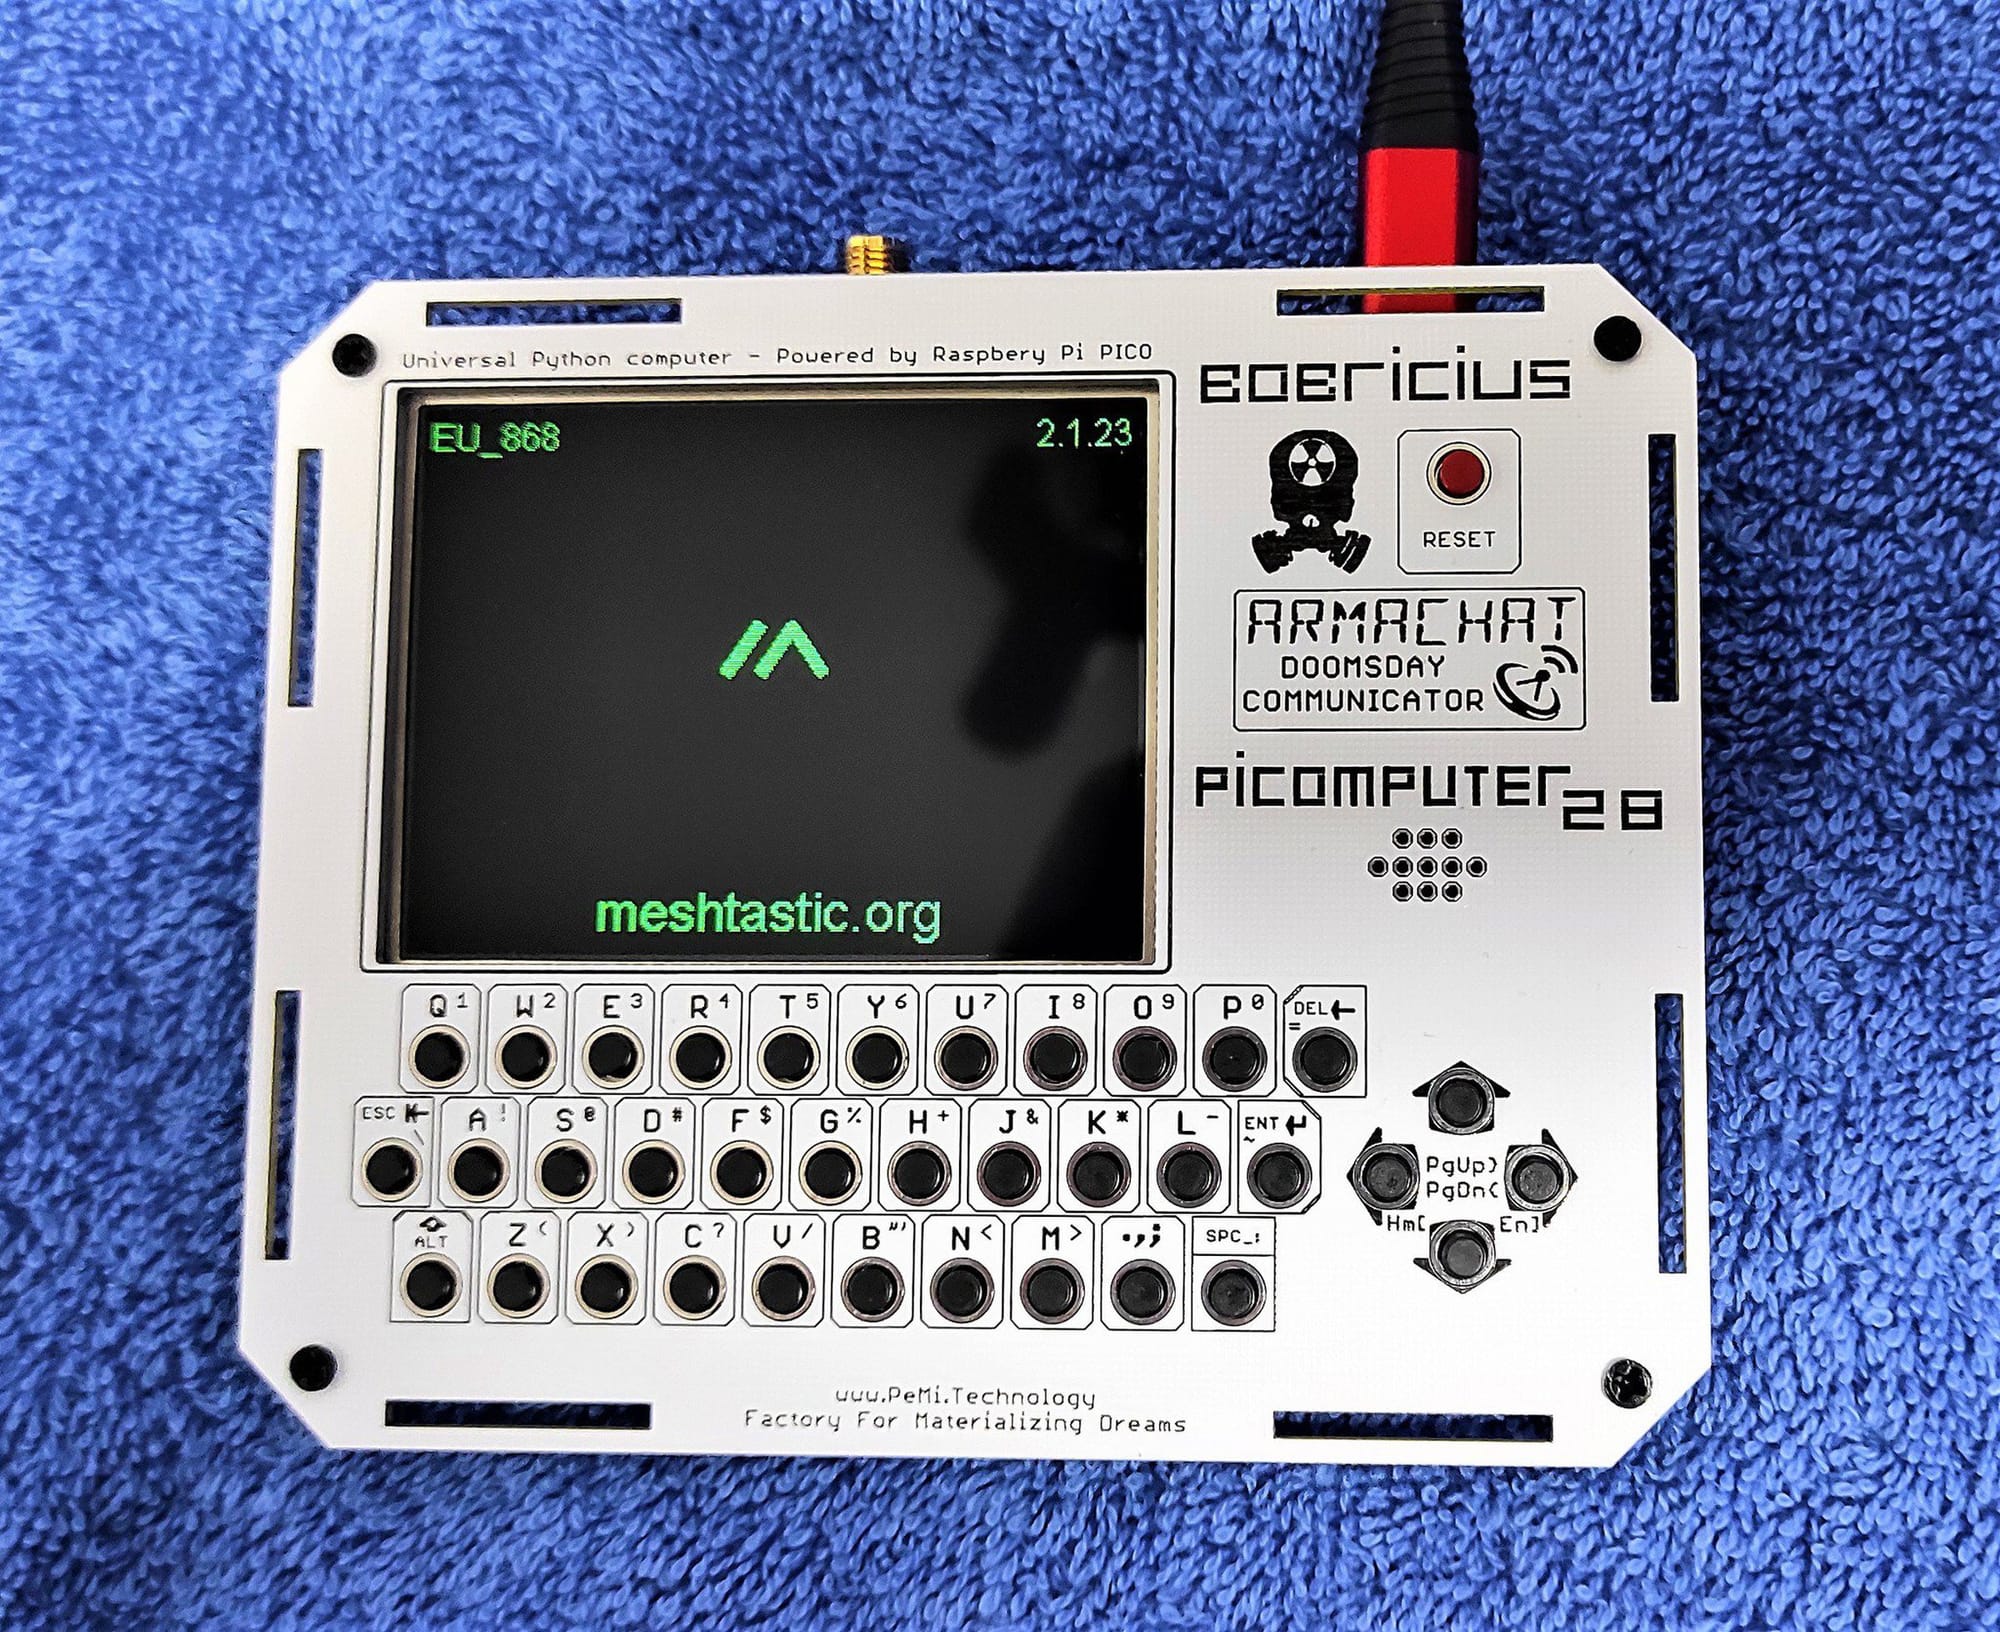
Discover ways to construct your individual Meshtastic LoRa Node utilizing a Raspberry Pi Pico W and a LoRa Hat. This DIY information covers the whole lot from {hardware} necessities to meeting and software program flashing. Lower your expenses and luxuriate in a rewarding hands-on expertise by repurposing previous elements or ranging from scratch

On this information, we’ll present you find out how to construct your individual Meshtastic LoRa Node utilizing a Raspberry Pi Pico W and a LoRa Hat. Whilst you may simply purchase a pre-made gadget, constructing one your self from spare elements affords a rewarding hands-on expertise. Whether or not you are repurposing previous elements or simply love DIY tasks, this information will allow you to create a purposeful, off-grid communication node utilizing open-source software program.
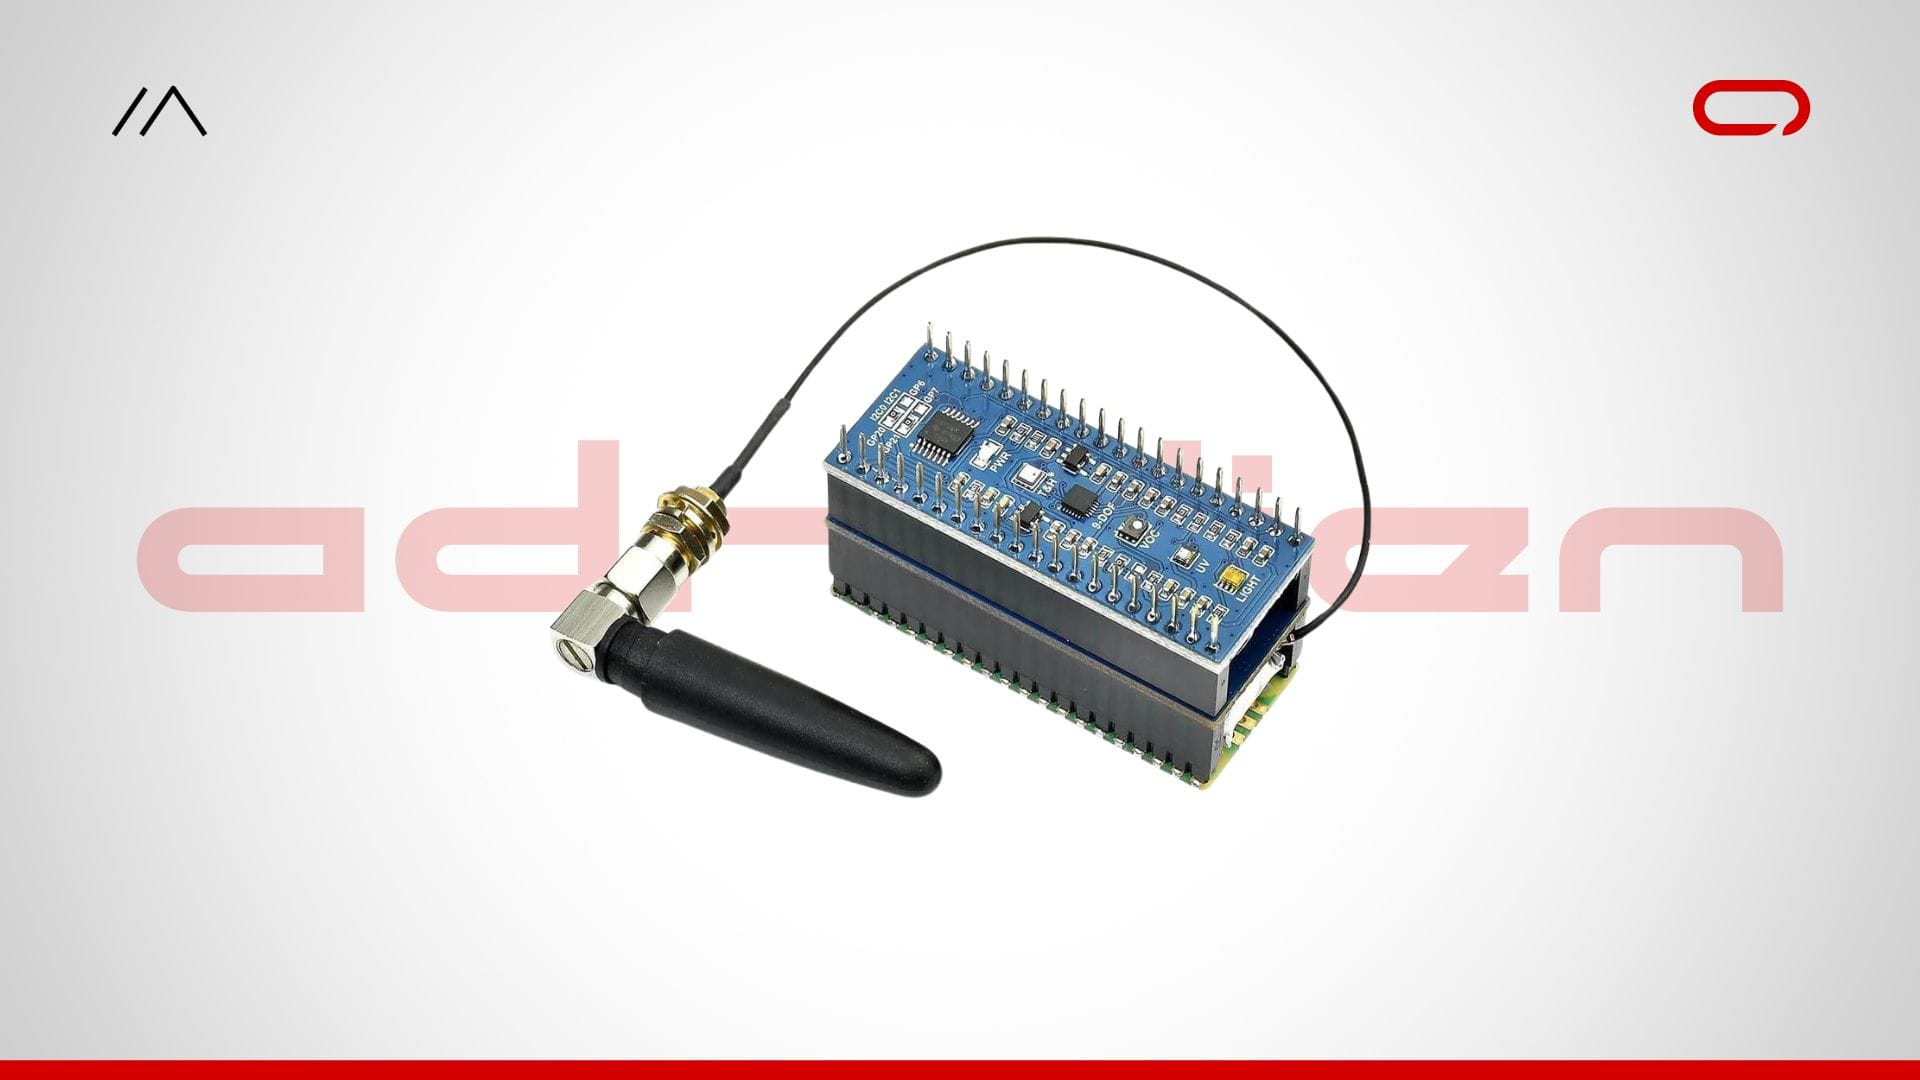
{Hardware}
Now let’s get began with the {hardware} you want:
📢
When ordering from AliExpress, contemplate consolidating your purchases from a single vendor to maximise financial savings. As an illustration, in case you’re buying an antenna from vendor X, examine if additionally they supply an IPEX to SMA-Okay cable. By sourcing all of your objects from one vendor, you possibly can considerably cut back transport prices.
Best Antenna For Meshtastic Handheld Node
Explore the top Meshtastic antennas with our detailed guide. From GIZONT to ZIISOR and CDEBYTE, find the perfect fit for your needs. Get insights, pros, cons, and convenient AliExpress links for easy purchasing. Make an informed decision today!
Meeting
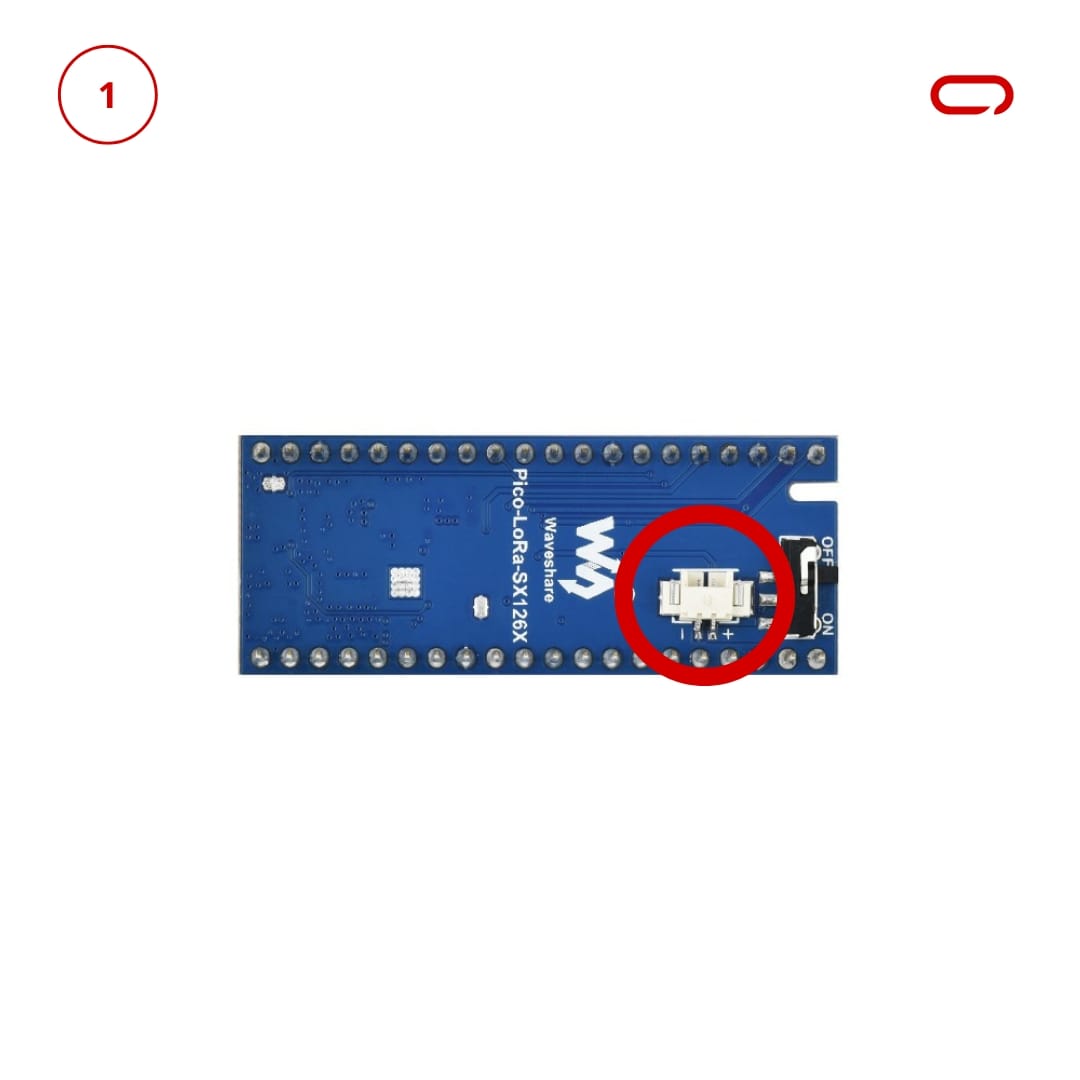
- Join the Battery:Take the included battery and join it to the PH1.25 battery header on the LoRa hat.
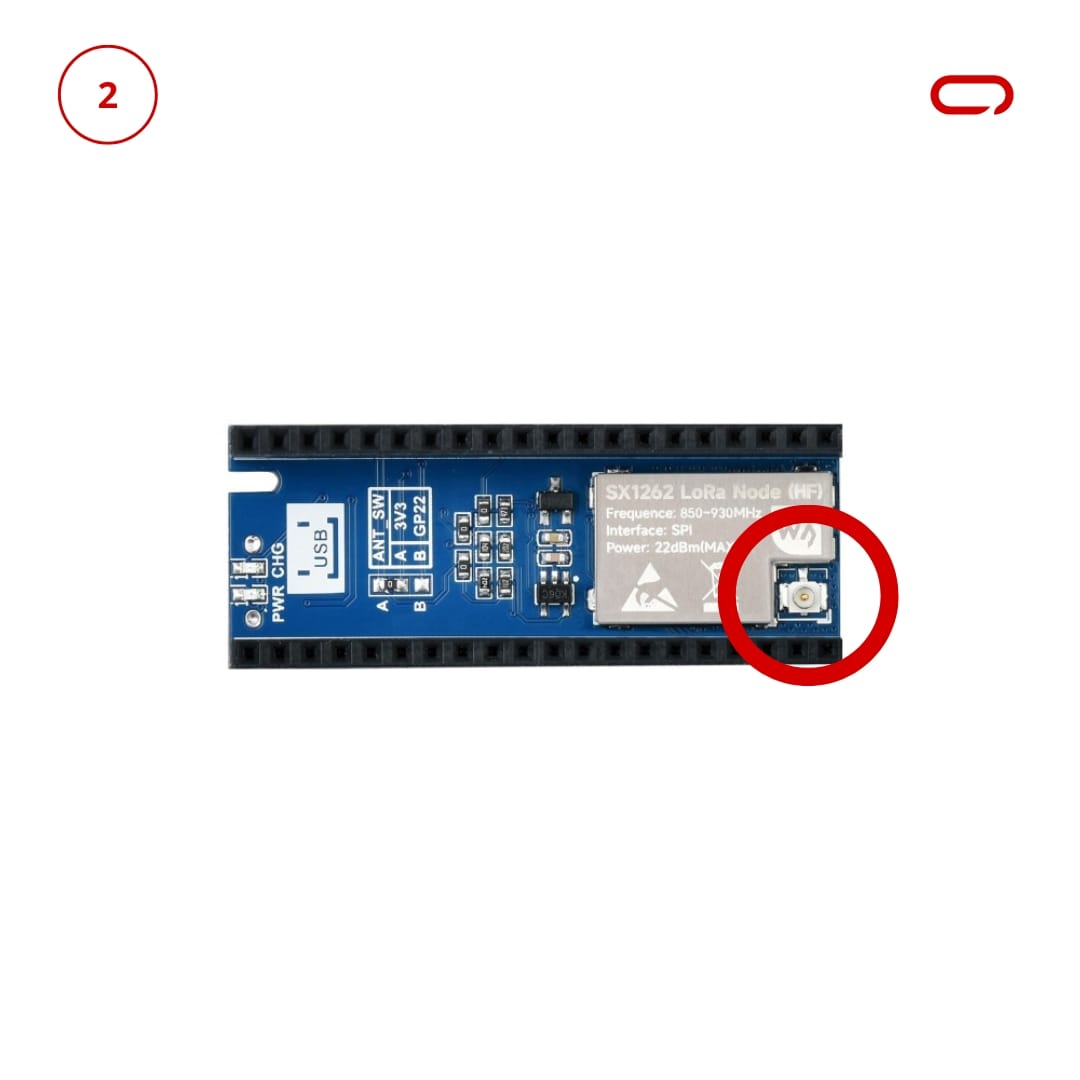
Connect the SMA Connector and Antenna:
- Connect the included SMA connector to the LoRa hat.
- Screw within the antenna to the SMA connector.
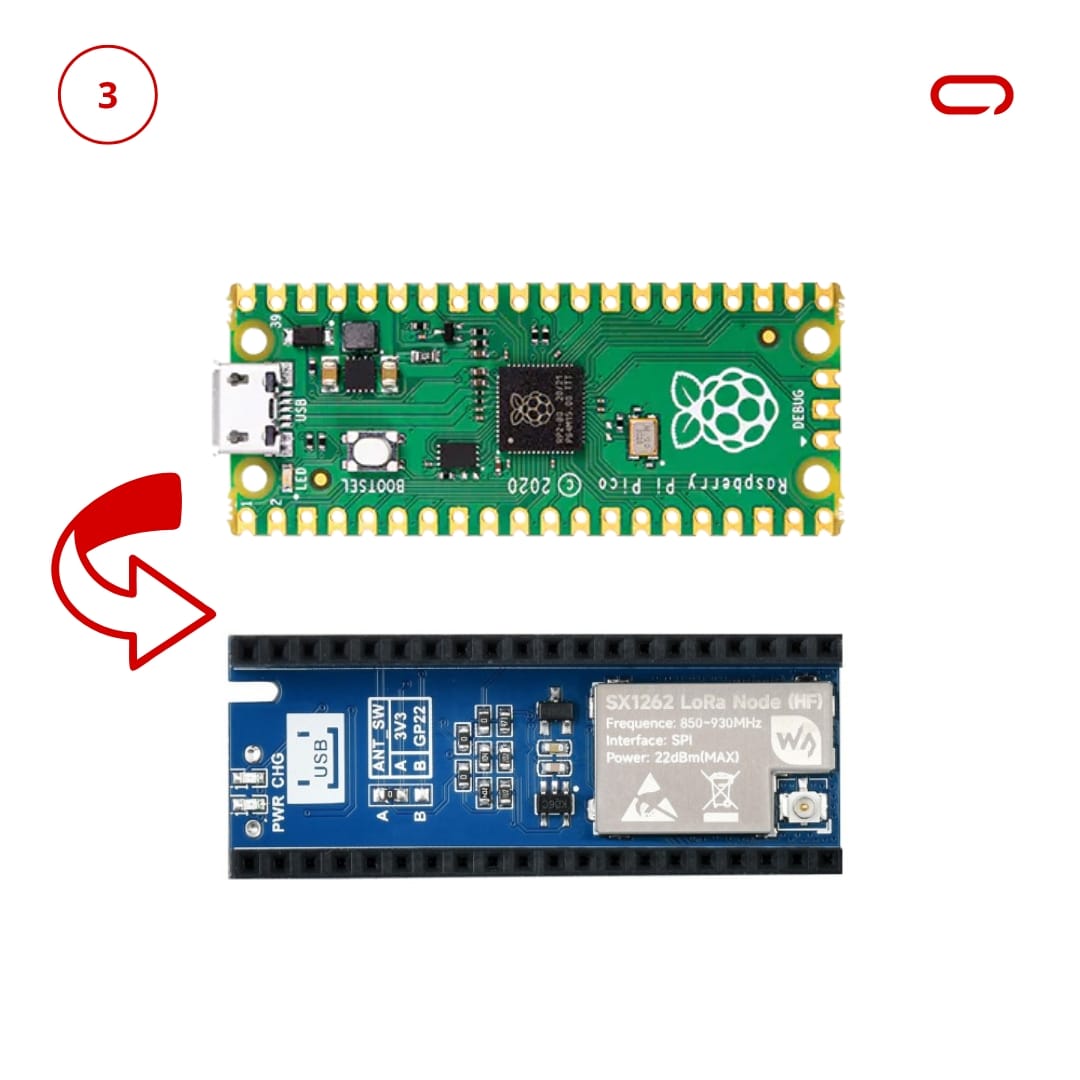
Set up the Raspberry Pi Pico W:
- Place the Raspberry Pi Pico W on high of the LoRa hat.
- Be certain that the pins are accurately aligned.
- Take note of the orientation: the USB port of the Raspberry Pi Pico W needs to be positioned away from the antenna.
Flashing The Software program
The Web-Based Installer requires both Chrome or Edge browsers however is a wonderful alternative for rapidly flashing units.
- Plug in your gadget
- Go to flasher.meshtastic.org *requires Chrome or Edge browser
- For the gadget, we are going to go along with Raspberry Pi Pico W
- Select the newest secure model
- Click on on Flash
The CLI Script is taken into account the „guide course of“ for flashing firmware. If the web-based flasher would not work, an alternate possibility is to make use of the CLI (Command Line Interface) script. Whereas we cannot cowl it intimately on this information, you possibly can consult with the Meshtastic Information for complete directions.
Pairing Gadgets
With the {hardware} assembled and the firmware flashed you are now able to energy up the Meshtastic LoRa Node and pair it along with your cellphone. This step marks the thrilling second when your custom-built gadget begins its communication journey.
- Obtain the Meshtastic app in your cellphone. The app is out there for obtain on each the App Store (iOS) and Google Play (Android).
- Head over to the Bluetooth web page and wait a bit bit, you must see a tool popping up there.
- Select the Meshtastic gadget you wish to pair with from the checklist. The gadget’s Node ID and different related data needs to be seen within the app.
- Meshtastic node will present the pairing code, enter that in your cellphone and watch for a second or two. You’ll be prompted to pick out your area. Go forward and choose EU433. The node will restart and you can be able to go.
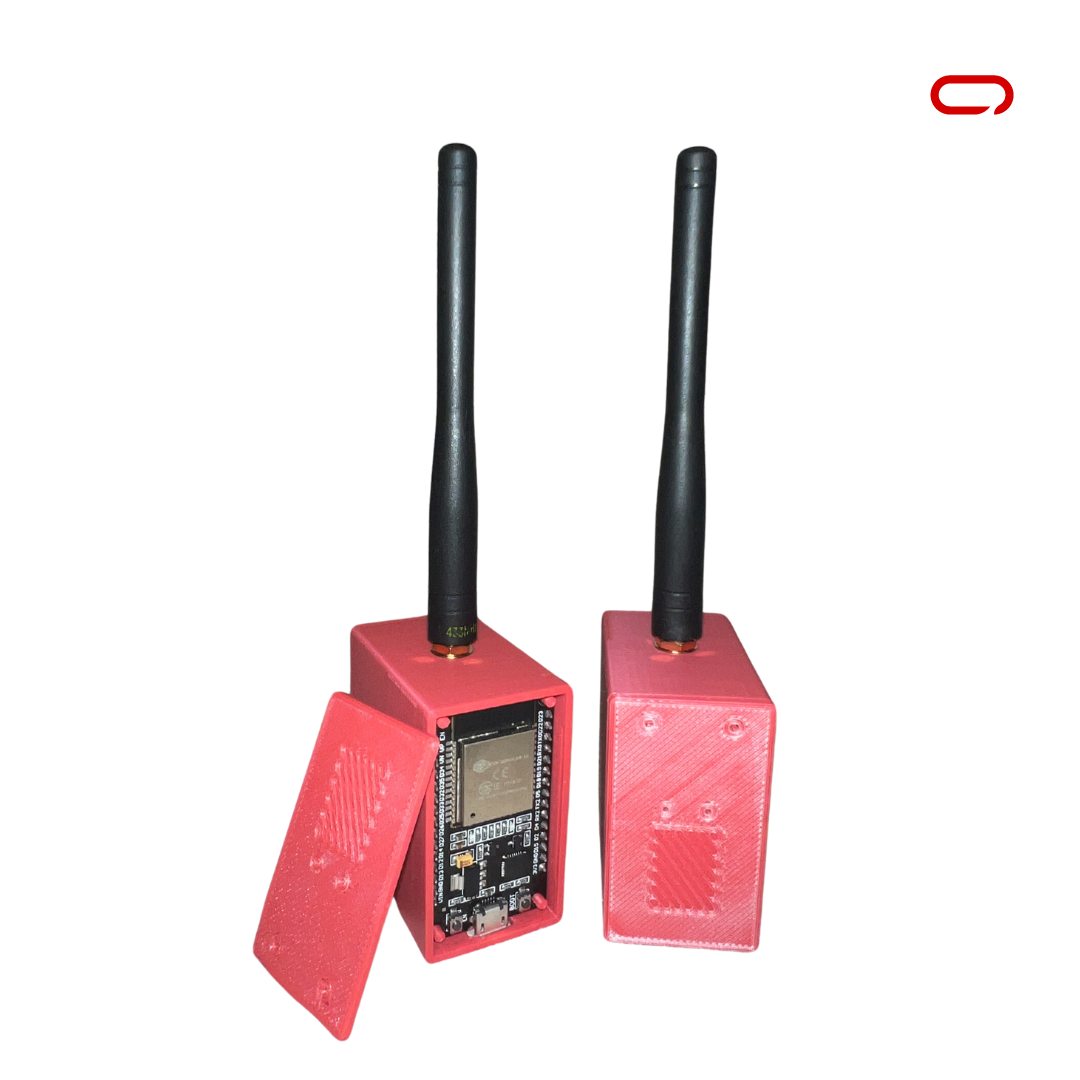
Meshtastic DIY ESP32 & Lora Radio 3D Case
Looking to build your own Meshtastic LoRa Node with ESP32? Follow our step-by-step guide. Once you’ve assembled the components, simply Print Our Design and Enjoy Your Node.
Creating your individual Meshtastic LoRa node with a Raspberry Pi Pico W and a LoRa Hat is a rewarding mission. You get the hands-on expertise of constructing one thing your self. It is an effective way to utilize elements mendacity round and benefit from the technique of DIY electronics. Now, along with your Meshtastic LoRa node up and operating, you possibly can discover the chances of mesh networking and see firsthand the advantages of your work. Blissful tinkering!


