
Constructing your first FPV drone? Navigate the challenges with our complete information. Study rules, element choice, meeting, and extra for a profitable construct.
First Particular person View (FPV) drone racing and freestyle flying have skyrocketed in recognition lately, charming fanatics with adrenaline-fueled motion and breathtaking aerial maneuvers. As drones outfitted with FPV gear zip by means of elaborate racecourses or carry out gravity-defying stunts within the air, they provide spectators and pilots alike an exciting glimpse into the world of high-speed, immersive flight.
Constructing your first FPV drone opens the door to an exhilarating pastime crammed with pleasure and challenges. It isn’t nearly assembling a machine; it is about crafting a personalised flying expertise that places you within the pilot’s seat, hovering by means of the sky with unparalleled freedom.
Nonetheless, embarking on the journey of constructing your individual FPV drone comes with its personal set of challenges and potential pitfalls. From choosing the best elements to mastering the intricacies of FPV system setup and tuning, there are lots of components to think about to make sure a profitable construct and, finally, an exhilarating flying expertise. By being conscious of those potential pitfalls and taking proactive steps to handle them, you’ll be able to set your self up for a rewarding journey into the world of FPV drone racing and freestyle flying.
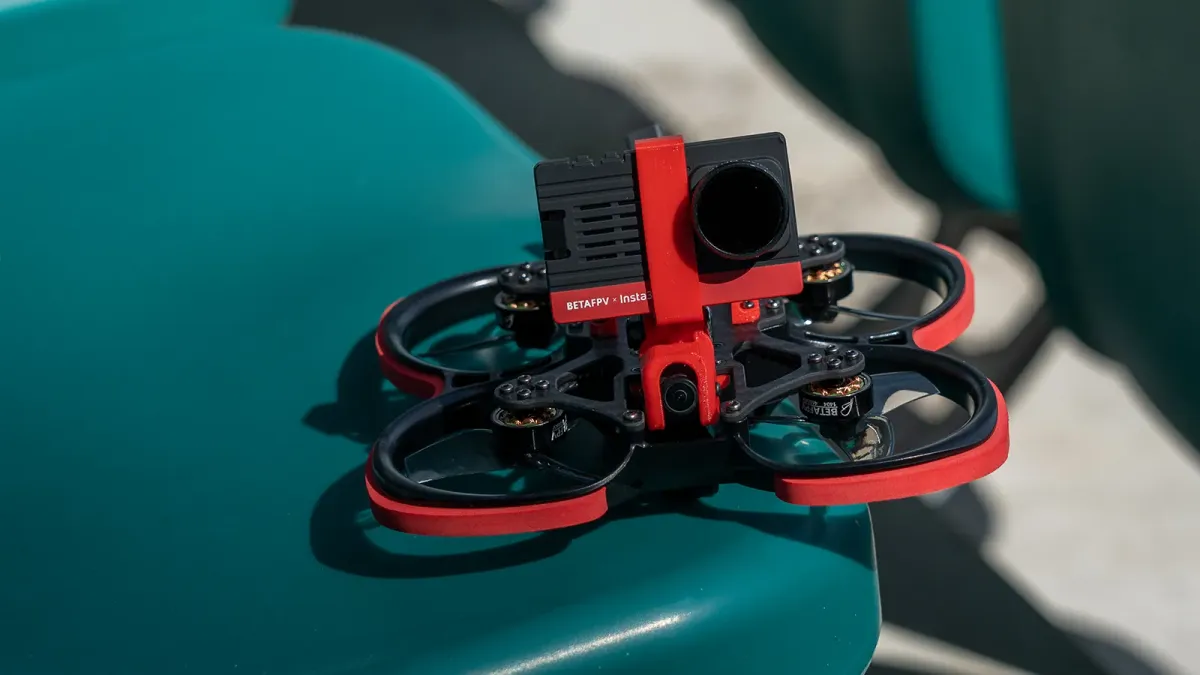
FPV Drone Build Under 300$ With Goggles & Controller
Learn how to build a custom FPV drone for under $300, complete with goggles and a controller. Our guide provides step-by-step instructions and carefully curated component selections. Start your FPV journey today!
Body:
- Dimension: Select a body measurement that fits your supposed use, whether or not it is racing, freestyle, or aerial pictures. Bigger frames supply stability and payload capability, whereas smaller frames prioritize agility and pace.
- Materials: Go for supplies like carbon fiber for light-weight but strong frames that may face up to crashes and impacts.
- Mounting Holes: Make sure the body matches the mounting sizes for securing the flight controller (FC), digital pace controllers (ESCs) Stack (Ex 30×30 or 20×20), motors (Ex 9mm or 12mm), FPV digital camera (Ex 20mm or 19mm), and different elements. Search for frames with versatile mounting patterns to accommodate varied configurations.
💡
Motor mounting gap compatibility is commonly ignored. Guarantee your motors match your body’s holes
Selecting the Proper Body Dimension
Frames are categorized primarily by their measurement, usually measured diagonally from motor to motor. This measurement determines what kind of drone you might be constructing and its potential functions:
- Whoop Frames: These tiny frames are normally about 2.5 to three inches in measurement and are excellent for indoor flying. They’re light-weight and customarily used for small, brushed motors, making them perfect for rookies and indoor racing fanatics.
- Micro Frames: Starting from about 4 inches to 7 inches, these frames are appropriate for outside flying however are nonetheless sufficiently small to be nimble and agile. They will accommodate each brushed and brushless motors and are nice for pilots who need a stability between a whoop’s indoor manageability and a bigger drone’s capabilities.
- Mini Frames: Sometimes between 7 inches to 10 inches, mini frames are the preferred for FPV racing and freestyle flying. They supply sufficient area to accommodate highly effective motors and bigger batteries however are nonetheless compact sufficient to make sure agility and pace.
- Normal Frames: These vary from 10 inches to 18 inches and are generally used for leisure and cinematic functions. They will carry bigger and extra highly effective motors together with heavier payloads, resembling extra refined cameras and extra {hardware}.
- Massive Frames: Something over 18 inches falls into this class. These frames are normally used for professional-grade cinematography or specialised industrial functions. They’re able to carrying important payloads, together with high-end cameras and different tools.
Flight Controller (FC) & Digital Velocity Controllers (ESC):
- Compatibility: Confirm compatibility between the FC and ESCs, making certain they assist the identical communication protocols and firmware, higher to go for Stack or AIO. Verify for mounting gap compatibility with the body and enough present ranking on the ESCs to deal with the motor’s energy calls for.
- Options: Search for FCs with built-in gyroscopes and accelerometers for steady flight efficiency. Take into account options like Betaflight compatibility for superior tuning choices and onboard OSD (on-screen show) for real-time flight telemetry.
When choosing a flight controller, be certain that the mounting holes align with these in your body. This compatibility is essential to safe the FC correctly and to keep away from any undesirable motion or vibrations throughout flight.
Frequent sizes for these mounting patterns embody:
- 30.5×30.5 mm: This can be a customary measurement for a lot of bigger drones, offering a steady base for the FC and sometimes further room for integrating different elements.
- 20×20 mm: Extra compact and usually utilized in smaller drones, this mounting measurement is right for micro and mini frames the place area is at a premium.
- Whoop-size boards: Particularly designed for tiny whoop class drones, these are even smaller and combine immediately into the drone’s tiny body.
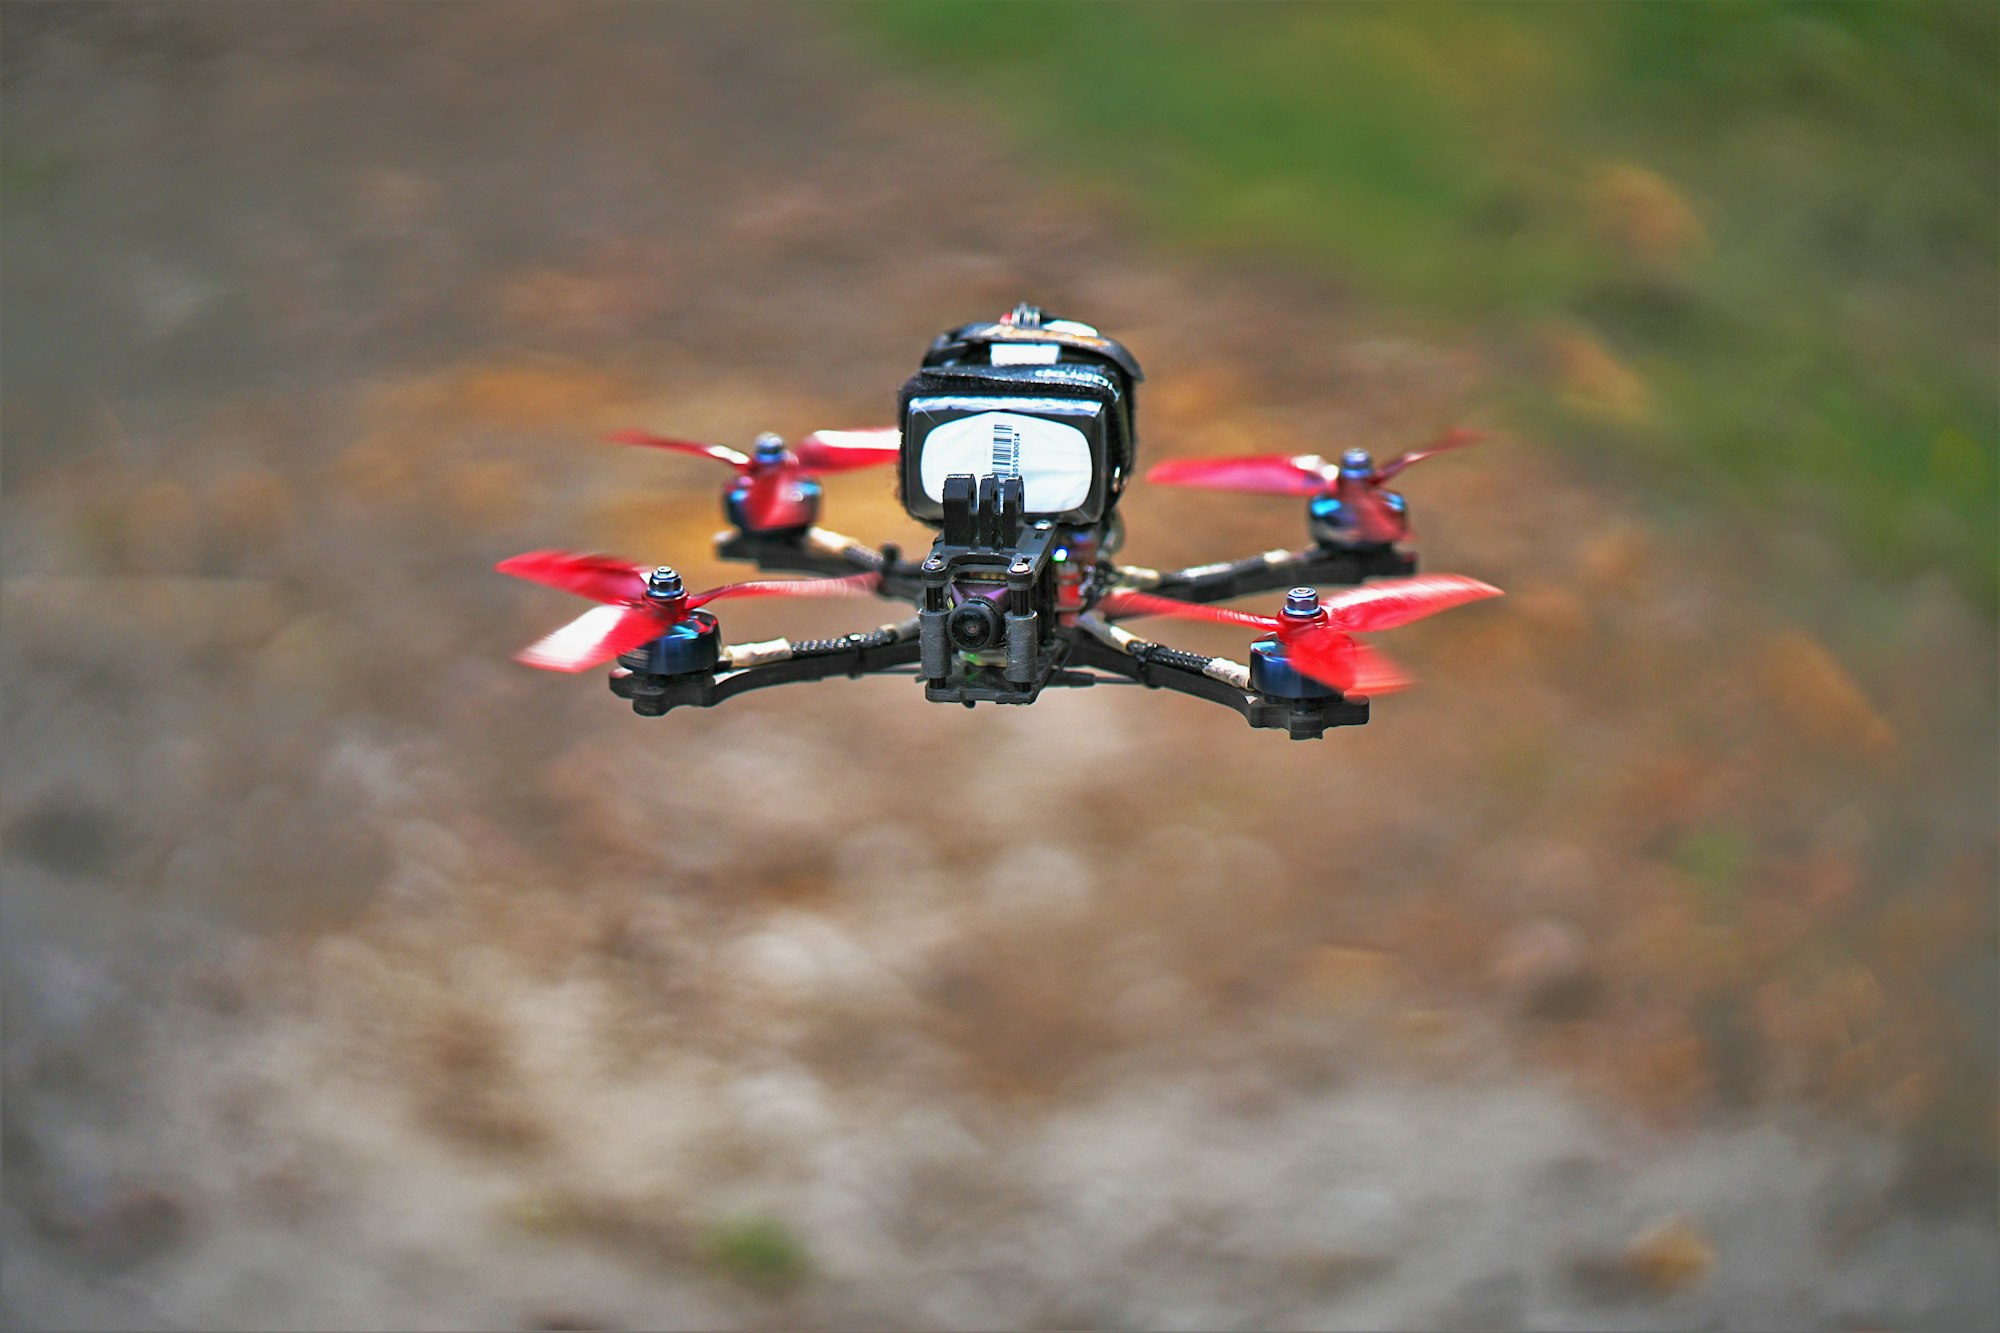
How To Build a FPV Drone For Beginners
Learn to build your own FPV drone from scratch with this step-by-step guide, covering everything from selecting the right frame to choosing compatible components for the perfect flying experience!
Motors & Propellers:
- Motor Dimension & KV Score: Select motors that match the body measurement and desired flight traits. Increased KV scores present extra RPM per volt and are appropriate for light-weight builds, whereas decrease KV scores supply larger torque for bigger props and payloads.
- Propeller Dimension: Match propeller measurement to the motor’s thrust capabilities and the specified flight efficiency. Take into account components like blade rely (bi or tri props), and for optimizing effectivity and maneuverability. Additionally, be certain that the propellers suit your body—too massive and so they’ll hit the body or one another, too small and you will lack energy.
Motor Suggestions for Completely different Drone Sizes
The dimensions of a drone motor is usually indicated by a four-digit quantity – for instance, 1404. These numbers reveal the motor’s dimensions:
- The primary two digits signify the diameter of the motor’s stator in millimeters.
- The final two digits describe the peak of the stator in millimeters.
A bigger stator means extra torque, which might spin bigger propellers however could lead to elevated energy consumption and weight. A smaller motor, in the meantime, is lighter and consumes much less energy however may not supply as a lot elevate or pace.
- Whoop Frames (2.5 to three inches): These small drones carry out finest with excessive KV motors attributable to their gentle weight and smaller propellers. Motor sizes like 0802 or 1103 with a KV ranking of 15000-25000 are frequent, offering fast responsiveness for indoor flight.
- Micro Frames (4 to 7 inches): Micro frames stability agility and energy, needing motors that provide midpoint. A motor measurement of 1404 to 1806 with KV scores between 4000 to 6500 KV can be efficient, permitting for environment friendly outside flight with mixture of pace and management.
- Mini Frames (7 to 10 inches): Mini frames are common in FPV racing and require motors that present a stability between pace and torque. Motor sizes like 2205 to 2306, with KV scores from 2400 to 2750 KV, are perfect for making certain efficiency with out sacrificing an excessive amount of flight time.
- Normal Frames (10 to 18 inches): These bigger frames are sometimes used for leisure and cinematic flying, requiring highly effective motors to deal with heavier payloads. Motor sizes within the vary of 2806 to 3210, with decrease KV scores round 800 to 1600 KV, are appropriate to assist bigger propellers and heavier hundreds successfully.
- Massive Frames (over 18 inches): Used predominantly for skilled cinematography or industrial functions, these frames want strong motors that may present substantial elevate. Motor sizes like 4210 or bigger, with KV scores under 800 KV, are usually used to maximise effectivity and stability below heavy payloads.
The KV ranking of a motor refers back to the variety of revolutions per minute (RPM) the motor will make per volt of electrical energy equipped, with none load. That is an indicator of how briskly the motor can spin:
- Increased KV motors spin sooner, and are suited to smaller propellers or drones the place excessive pace and agility are wanted.
- Decrease KV motors have extra torque and are higher for bigger propellers and drones that carry heavier payloads.
Really helpful Propeller Sizes for Completely different Drone Frames
- Whoop Frames (2.5 to three inches): These small frames usually use propellers which might be 1 to 2 inches in diameter. These tiny propellers are suited to indoor use the place area is restricted and maneuverability is paramount. They’re usually created from plastic as a result of decrease danger of injury in an indoor surroundings.
- Micro Frames (4 to 7 inches): For these barely bigger frames, propellers within the vary of three to 4 inches are frequent. These propellers strike a stability between effectivity and thrust, appropriate for outside flying the place each efficiency and battery life are essential.
- Mini Frames (7 to 10 inches): Propellers for these frames normally measure between 5 to 7 inches. These sizes supply wonderful thrust and agility, making them perfect for FPV racing and freestyle flying. The propellers are sometimes tri-bladed for stability of responsiveness and management.
- Normal Frames (10 to 18 inches): For these bigger drones, propellers can vary from 8 to fifteen inches, relying on the precise utility and motor capabilities. These bigger propellers present the mandatory elevate and stability for carrying heavier payloads, resembling superior cameras and sensors.
- Massive Frames (over 18 inches): These frames require very giant propellers, normally 16 inches or extra. These propellers are particularly designed to maximise elevate and effectivity for heavy-duty duties and professional-grade cinematography. Typically created from high-strength supplies like carbon fiber, these propellers guarantee sturdiness and efficiency at excessive hundreds.
💡
When ordering motors be sure you organize them in a pack of 4 or 2 CW (Clockwise) and a pair of CCW (Counter Clockwise)
💡
When ordering propellers be sure you organize them in a pack of 4 or 2 CW (Clockwise) and a pair of CCW (Counter Clockwise)
Digital camera & Video Transmitter (VTX):
- Digital camera Decision & FOV: Choose an FPV digital camera with high-resolution imaging and a large discipline of view (FOV) for immersive flying experiences. Take into account components like low-light sensitivity and dynamic vary for capturing clear footage in varied lighting circumstances. Guarantee it matches the body mounting gap for the digital camera mount as effectively.
- VTX Output Energy & Frequency Bands: Select a video transmitter (VTX) with adjustable output energy (25mW (Pit Characteristic) to 800mW) to adjust to native rules and optimize vary. Guarantee compatibility along with your FPV goggles‘ frequency bands (e.g., 5.8GHz) for seamless video reception.
The facility of a VTX, measured in milliwatts (mW), immediately impacts the vary and readability of the video sign:
- 25mW is commonly used for indoor racing to reduce interference with different pilots and is appropriate for short-range functions or in pit mode for low warmth throughout stops.
- 200mW to 600mW present an optimum stability for outside use, providing prolonged vary with out extreme energy consumption.
- 800mW or larger is right for long-range flights or areas with substantial environmental interference, delivering clearer video over higher distances.
Receiver & Transmitter (Controller):
- Receiver Compatibility: Guarantee compatibility between the receiver and your transmitter (controller), contemplating sign protocols (e.g., FrSky, ELRS) and frequency bands.
- Transmitter Options: Put money into a high quality transmitter with ergonomic design, customizable controls, and telemetry assist for monitoring battery voltage and RSSI (Acquired Sign Energy Indication). Take into account transmitter energy output for prolonged vary and sign penetration.
- ACCST (FrSky): FrSky’s ACCST protocol is common attributable to its reliability and vary. It’s suitable with a variety of receivers and affords options like telemetry, which supplies real-time knowledge from the drone again to the pilot.
- AFHDS (FlySky): AFHDS and its improve, AFHDS 2A, are utilized by FlySky and supply a budget-friendly choice with good efficiency. They’re much less generally utilized in skilled settings however are a wonderful alternative for hobbyists.
- Crossfire (TBS): This protocol, developed by Workforce BlackSheep, operates on a distinct frequency (900 MHz) and is famend for its lengthy vary and strong interference dealing with. It’s favored by long-range and freestyle pilots.
- ExpressLRS (ELRS): An open-source protocol that stands out for its ultra-low latency, excessive reliability, and lengthy vary. ELRS is quickly gaining recognition amongst those that prioritize strong efficiency and customization in each racing and long-range FPV drones.
💡
We extremely advocate selecting ELRS, because it affords the most recent know-how in comparison with Fly-Sky and is extra reasonably priced than CrossFire.
- Transmission Energy (TX Energy): The facility of the transmitter dictates its vary. Extra highly effective transmitters can ship indicators additional, which is crucial for long-range FPV flights. Nonetheless, it is essential to adjust to native rules relating to transmission energy to keep away from interference with different gadgets and authorized points.
- 25mW: That is the bottom generally used energy setting, typically used for indoor flying or in conditions the place rules limit energy utilization to forestall interference with different customers. It is appropriate for short-range flights.
- 100mW to 200mW: A step up, this vary affords elevated distance and higher sign penetration by means of obstacles with out a important enhance in interference potential. This energy setting is enough for many leisure outside flying inside visible line of sight.
- 500mW to 1000mW (1W): Increased energy settings like these are used for long-range flights or in environments with many obstacles (e.g., dense city areas). Whereas they supply in depth vary, additionally they require cautious dealing with to keep away from breaching native transmission legal guidelines.
💡
We have noticed that usually, your Radio Transmitter (Controller) will outperform the VTX when it comes to vary. Subsequently, it is essential to prioritize construct high quality in your choice.
Battery & Charger:
- Battery Dimension & Capability: Select lithium polymer (LiPo) batteries with the suitable cell rely (e.g., 3S, 4S) and capability (mAh) on your desired flight time and efficiency. Steadiness capability with weight for optimum power-to-weight ratio and maneuverability.
- Charger Compatibility: Put money into a dependable charger able to balancing particular person cells and supporting varied battery chemistries (e.g., LiPo, LiHV). Take into account options like adjustable cost charges, storage modes, and security options (e.g., overcharge safety) for protected and environment friendly battery administration.
Selecting the Proper Battery
- Whoop Frames (2.5 to three inches): Sometimes, these use 1S to 2S batteries attributable to their small measurement and decrease energy necessities.
- Micro Frames (4 to 7 inches): These frames generally use 2S to 4S batteries, balancing energy and weight for outside agility.
- Mini Frames (7 to 10 inches): A 4S to 6S battery is right right here, offering the mandatory energy for aggressive racing and freestyle efficiency.
- Normal Frames (10 to 18 inches): These bigger drones typically require 4S to 6S batteries, relying on their particular functions and the load of further tools like cameras.
- Massive Frames (over 18 inches): Sometimes, these use 6S batteries or larger to effectively deal with important payloads and prolonged flight occasions.
Connectors and Compatibility
- XT30 and XT60 Connectors: These are the most typical varieties of connectors for FPV drones. XT30 connectors are appropriate for smaller drones that don’t draw a variety of present, usually used with batteries as much as 4S. XT60 connectors, providing the flexibility to deal with larger currents, are customary for batteries from 4S as much as 6S. It is important to match the battery connector with the one pre-installed in your drone’s digital pace controller (ESC) or energy distribution board to make sure compatibility and protected operation.
Goggles:
- Show Decision & FOV: Select FPV goggles with high-resolution shows and a large discipline of view (FOV) for immersive visible experiences. Take into account components like adjustable IPD (interpupillary distance) and diopter lenses for customized viewing consolation and readability.
- Consolation & Options: Go for goggles with ergonomic designs, adjustable head straps, and cushioned faceplates for prolonged sporting consolation. Search for options like built-in DVR (digital video recording), HDMI enter, and customizable OSD for enhanced performance and usefulness.
Selecting the best Goggle Kind:
- Field Goggles: These goggles have a single giant display screen inside a box-like enclosure, which the person views by means of a set of lenses. Field goggles are usually inexpensive and may supply a big discipline of view. Their measurement and form present ample room inside for individuals who put on glasses. Nonetheless, they’re bulkier and heavier in comparison with different sorts.
- Binocular Goggles: These are extra compact and have two small screens (one for every eye), offering a extra immersive expertise. They are typically lighter and extra comfy throughout lengthy flights. Binocular goggles can vary from reasonably priced to very high-end fashions that includes HD shows and in depth adjustability choices.
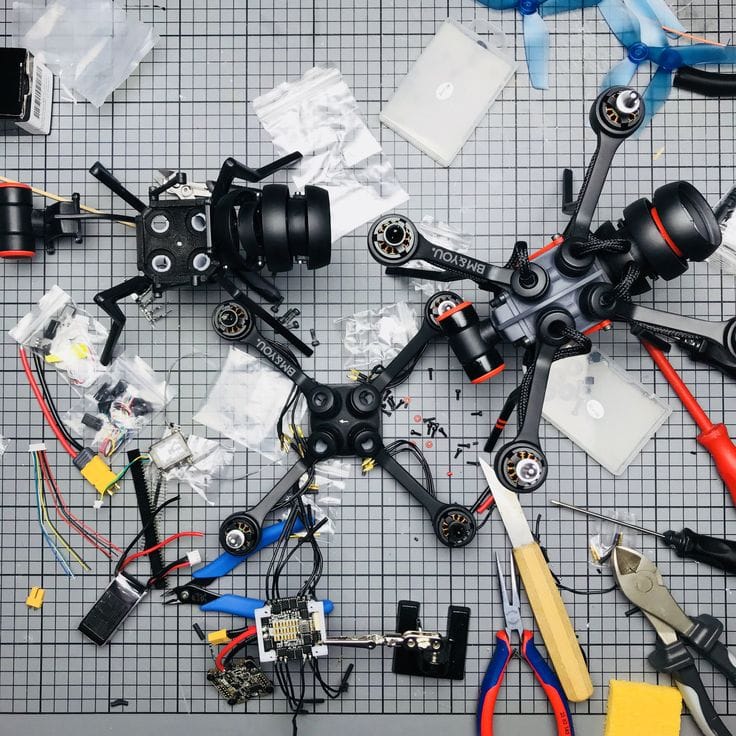
Meeting and Wiring
Assembling your FPV drone and wiring its elements appropriately are vital steps in making certain its performance and efficiency. This is a step-by-step information to assembling and wiring your FPV drone, together with frequent concerns and troubleshooting suggestions:
- Put together Your Workspace: Clear a well-lit and clutter-free workspace. Collect all mandatory instruments and elements, together with your body, FC, ESCs, motors, digital camera, VTX, receiver, transmitter, goggles, soldering iron, solder, wire strippers, and warmth shrink tubing. Take into account buying a bundle of M2 screws of all sizes since not all firms present them, making certain you’ve gotten the mandatory {hardware} for meeting.
- Evaluate Wiring Diagram: Discuss with the wiring diagram supplied by your FC & ESC stack producer. Familiarize your self with the format and connections required on your particular setup.
- Pre-tin Pads: Pre-tin all of the pads in your FC and ESCs earlier than soldering. This prepares the surfaces for soldering and makes the method smoother and extra dependable.
- Begin Soldering: Start soldering the connections in accordance with the wiring diagram. Begin with important connections resembling battery leads, motor wires, and sign wires. Use 60/40 soldering wire, because it’s simpler to work with and supplies good conductivity.
- Distinctive Wiring Concerns:
- VTX Placement: Mount your video transmitter (VTX) in the back of the drone to reduce interference with different elements. Guarantee correct air flow for warmth dissipation.
- Antenna Routing: Route antenna cables away from high-current wires and elements to forestall sign interference. Twist antenna cables to maintain them organized and decrease sign loss.
- Capacitor Set up: Set up capacitors in your ESCs to filter electrical noise and stop voltage spikes that may harm your electronics. It is essential for clean and dependable efficiency, particularly throughout fast throttle modifications.
- Smoker Stopper: Use a smoke stopper (a tool that limits present circulation) to test for brief circuits or incorrect wiring earlier than connecting a battery. This helps stop harm to your elements and reduces the chance {of electrical} fires.
- Verify Connections: After soldering all connections, fastidiously examine every joint for correct bonding and continuity. Guarantee there aren’t any chilly solder joints, unfastened wires, or shorts between adjoining pads.
- Take a look at Every Element: Energy up your FC and take a look at every element individually to confirm performance. Verify motor route and rotation, receiver sign reception, digital camera and VTX video feed, and transmitter management inputs.
In conclusion, constructing your first FPV drone is a journey that provides each challenges and rewards. It is a possibility to delve into a captivating pastime that mixes know-how, creativity, and adrenaline-pumping pleasure. Whereas there could also be hurdles alongside the way in which, resembling navigating rules, choosing the best elements, and mastering meeting strategies, every step brings you nearer to the joys of chickening out. With willpower, persistence, and the steering supplied on this information, you’ll be able to overcome obstacles and embark on an exhilarating journey on the planet of FPV drone racing and freestyle flying.
What is Meshtastic? – Full Guide on How To Get Started
Meshtastic – an open-source mesh networking platform redefining communication. From decentralized, long-range capabilities to versatile applications in emergency response, outdoor adventures. Discover the diverse hardware options, step-by-step setup guide, and the remarkable range of 5 KM – 10 KM.


